
Do you dream of a huge set of seed starting shelves filled to the brim with plants under multiple sets of grow lights? You could save money, start your own seeds, and stick it to Old Man Winter.
But the reality is, there’s just no space in your small home! Or you only have one decent window to seed start, and there’s barely even a ledge. What do you do now? Resign yourself to a life of expensive starters?
Not you, my friend.
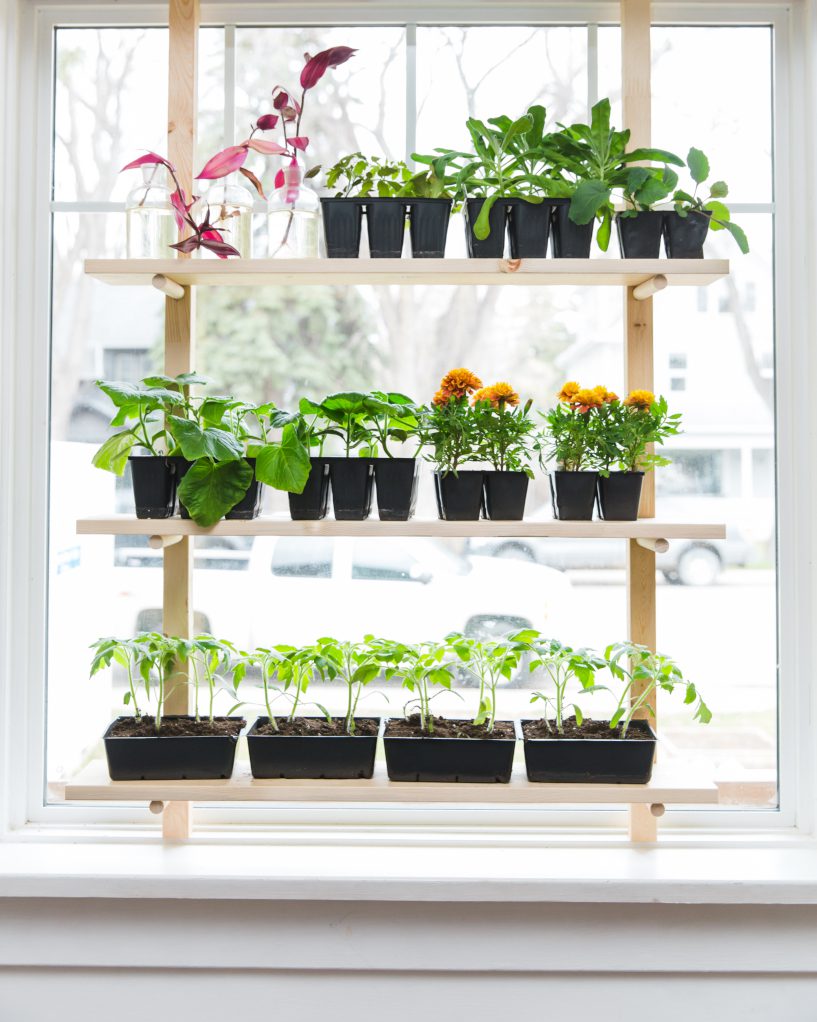
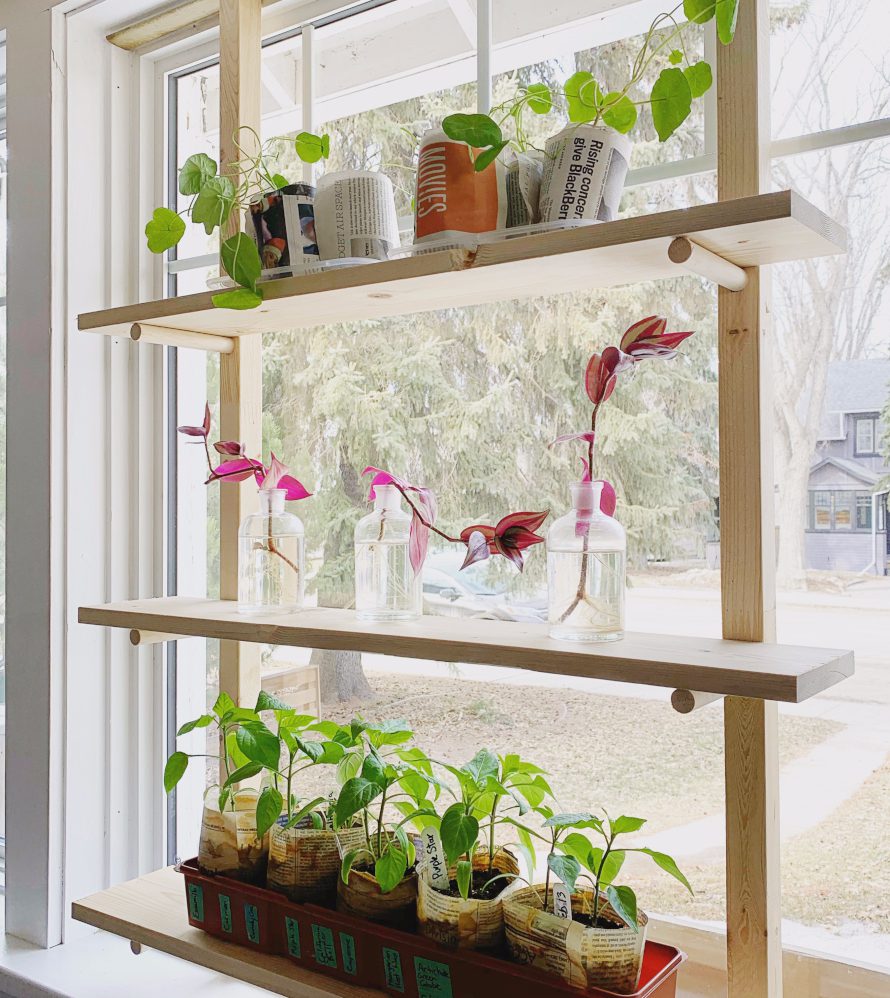
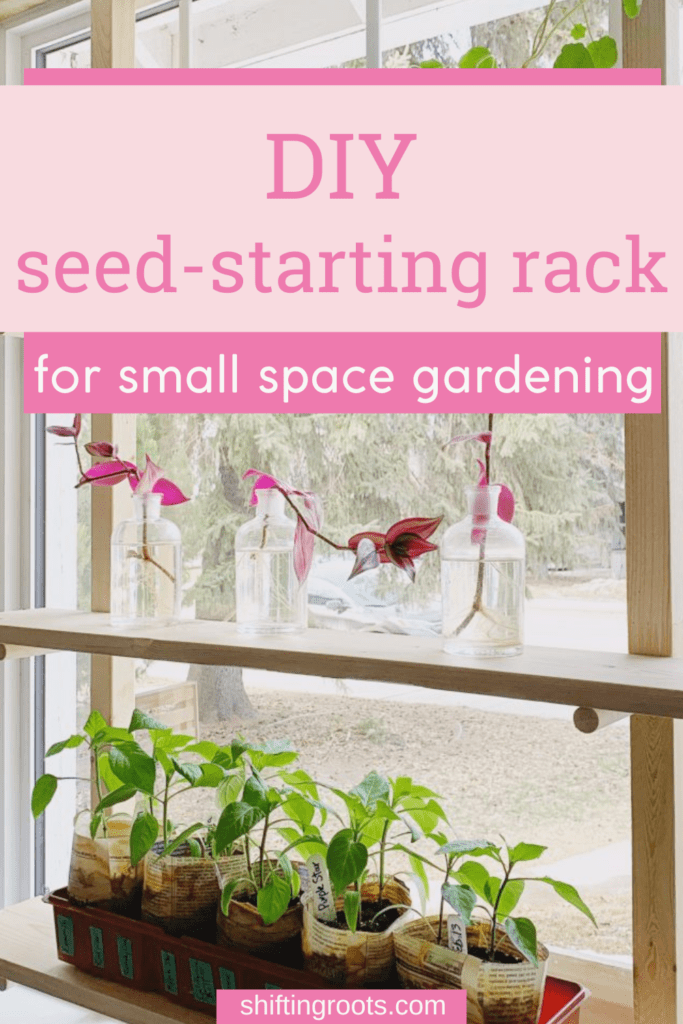
You’re going to DIY yourself a seed starting shelf in your window frame!
This post contains affiliate links, which means if you purchase anything I earn a small commission at no extra cost to you. You can read more about it in my Privacy Policy. Thanks for supporting Shifting Roots!
Seed Starting Shelves without Grow Lights?
Yes, it is possible!
This design fits right into your window frame. You only need a minimum 1 1/4″ window ledge and a south-facing window. West and east-facing windows can work too, but heat-loving vegetables will not be as successful.
Grab the listed supplies, set aside an afternoon, and you’ll have your own DIY seed starting rack in your window before you know it!
Materials and Tools
The dimensions in the following list are based on the windows in our previous house. You will need more or less wood, depending on the height and width of your windows.
- Measuring Tape
- Drill
- 3/4″ Drill bit
- Circular Saw or Hand Saw with a Mitre Box
- 3/4″ Wooden dowel
- 1×6 Shelving board
- 2×2 board
- Wooden shims
- Hammer, for tapping the rack in place.
- Safety glasses
- 80 Grit Sand paper
- Optional: Wood Glue
Still planning out your garden? Grab my pretty and practical garden planner here, then head to this post to find out how to garden plan without overwhelm.
Steps for making a DIY seed-starting rack
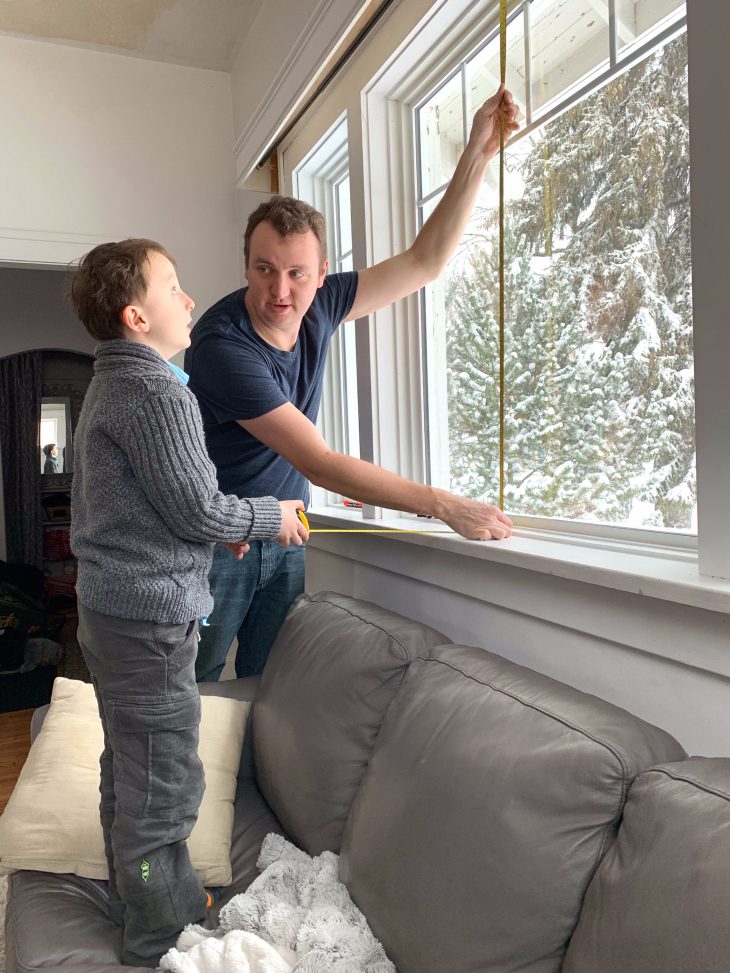
- Measure the length and width of the window you plan on installing the shelf in. Make sure that your vertical measurement is straight!
- Cut the 2×2 board(s) just short of the height measurement of the window so you have two same-sized pieces.
- Determine where you want the shelves on the 2×2 pieces, starting from the bottom up. Leave at least 12″ between the shelves and the top of the window to allow room for the plants to grow.
- Mark the spots on the 2×2, ensuring both pieces are marked at the same height.
- Drill 3/4″ holes through the 2x2s at those marks. (Remember the shelf sits on top of the dowels–adjust your height accordingly.) To avoid tear-out, drill partway through on one side until you see the drill bit’s tip. Turn the wood over and drill on the other side.
- Cut the dowel into 6 1/4″ pieces, one for each hole. We made six holes for three shelves, but you may need more or less, depending on the size of your window.
- Cut the shelves to the width you want to fit inside your window.
- Optional: If your window is wider than 3 feet and you’d like the shelves to span the full width of the window, you should build a third support. It is tricky to make the shelf level with a third support, so we don’t recommend going wider than 3 feet if you’re a beginner woodworker.
- Sand all edges of the pieces to eliminate splinters or sharp corners.
Starting your seeds without a grow light? Here’s how to do it.
[convertkit form=3754706]
Assembly Instructions
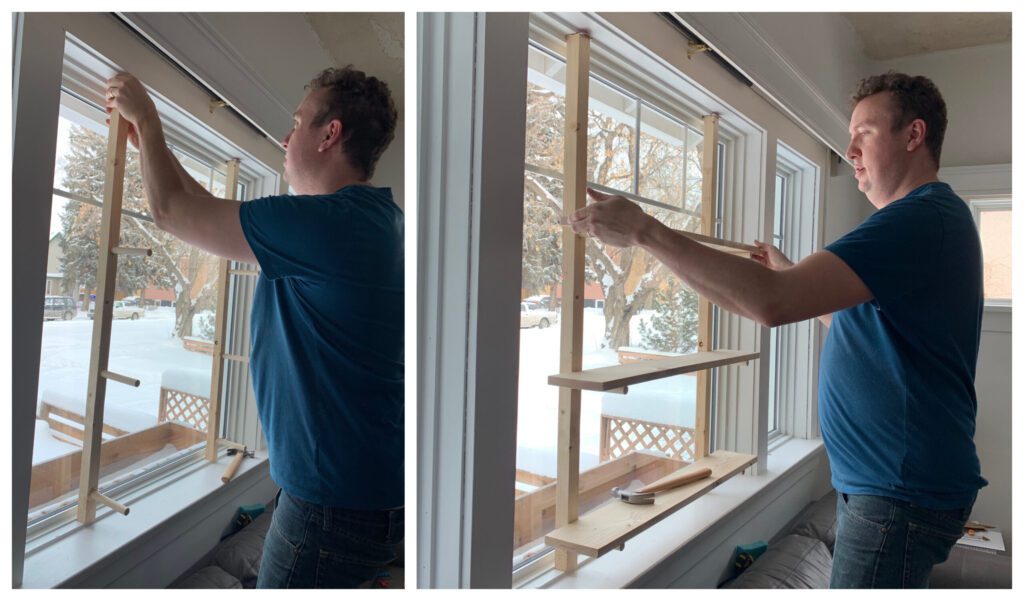
- Fit the dowels into the holes, making them all flush with the backside.
- Place wooden shim on top of the window. Tap the vertical supports into place with a hammer, wedging the support in place. Tap another wedge on the other side to fully secure it. Repeat the process for the other support.
- Place the shelf on top of the dowels.
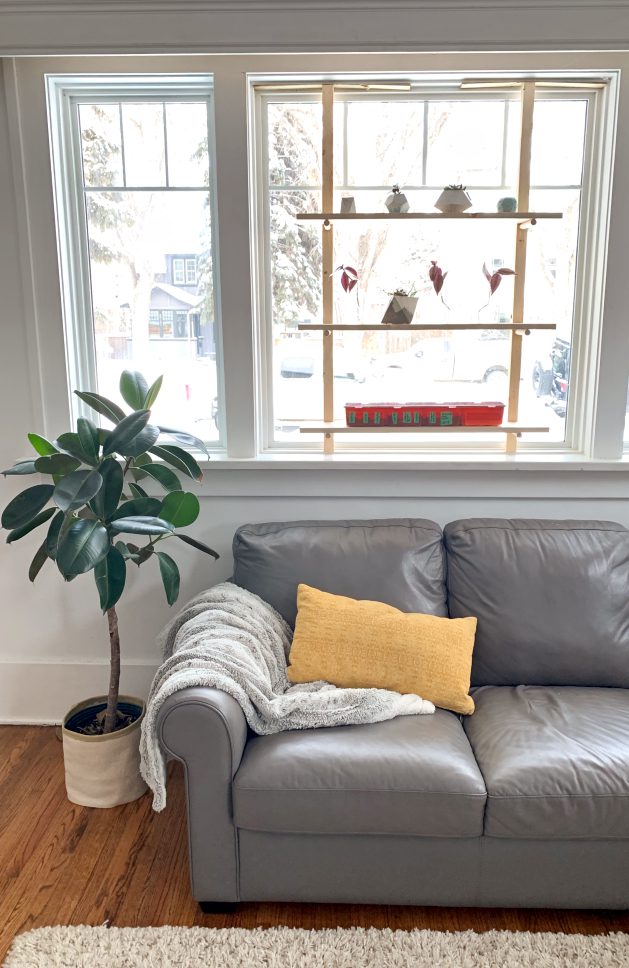
- Finally, add your seed starting containers and enjoy your new shelf!
We have not provided any instructions for securing the shelves or dowels, as this project intends to be removable and fold into as little space as possible at the end of the growing season. If you have pets or kids who would likely get into the shelf, you can secure the dowels with wood glue and screw the shelves in place.
Note: Please use common sense and do not overload your shelf! While it’s designed to be as stable as possible, only use lightweight containers for your seedlings. Place plants starting at each shelf’s centre and then at the ends to avoid tipping. (Unless you have chosen to screw your shelves in place.)
If you’d like to know more about starting seeds from your window, you’ll love this guide. Then head over to this post about where to buy your seeds online.
There’s another way to start seeds when you have no space and light in your house… here’s how.
If you liked this blog post, find me on Facebook, TikTok, and Instagram for more cold-climate vegetable gardening tips, delicious recipes, and cut flower goodness! I also make weekly videos over on my YouTube channel. I hope to see you there!
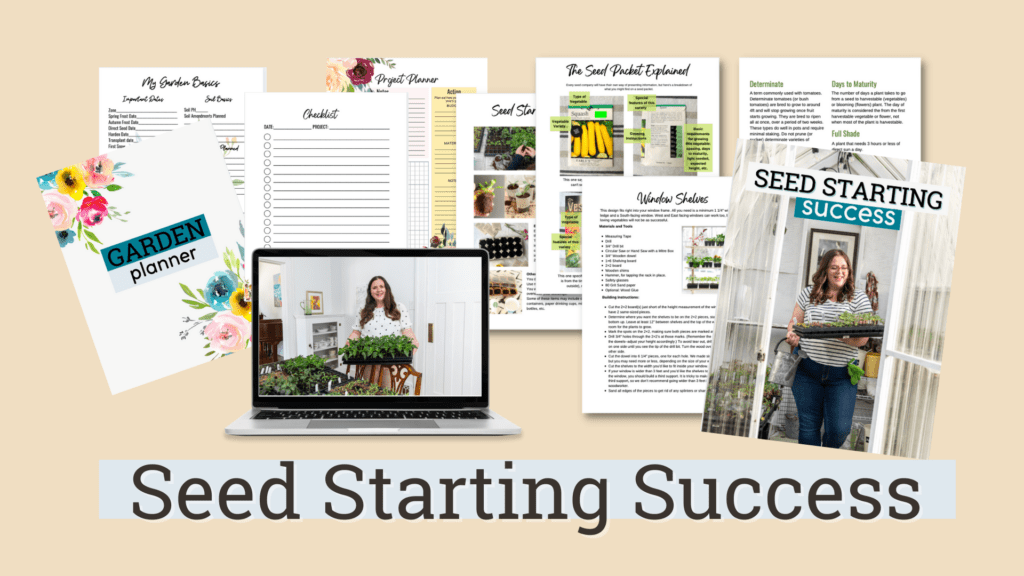
HAVE YOU TRIED SEED STARTING, ONLY TO BE LEFT WITH STRETCHED-OUT SEEDLINGS AND DEAD PLANTS?
You’re not a bad gardener–you just need a little know-how. For the price of a few seed packets, you can stop wasting time and money and start growing seedlings that actually live, and you get to harvest. Don’t miss out on another growing season. Get your copy of Seed Starting Success now (videos included)!


Adesuwa
Kristen Raney
Melissa
Evelyn