SHIFTING ROOTS

home, garden, food, and prairie lifestyle

  • About
    • Contact
    • Work With Me
    • Features
    • Privacy Policy
  • Blog
  • Gardening
  • Recipes
  • Popular Posts
  • Courses

How to Make Crab Apple Juice

August 5, 2016

Pin454
Share1
Tweet
455 Shares

One of my happiest childhood memories is of drinking crab apple juice straight from the jar at my babysitter’s house.  The juice was always accompanied by some tasty home baked cookies and delightful conversation.  Now that I’m older, I wanted to recreate the magic.

IMG_2821

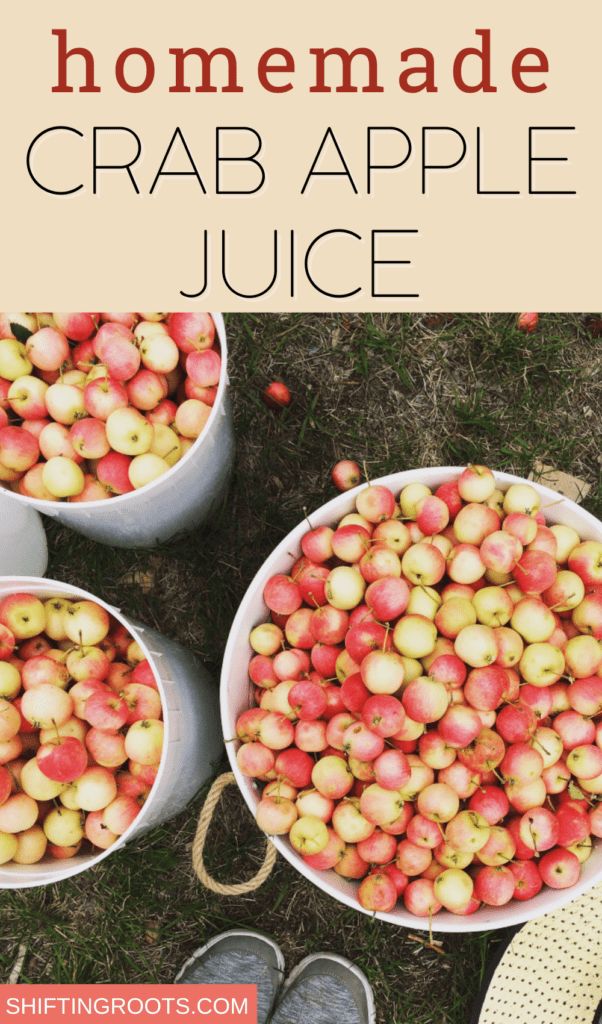
The Best Apples to Pick for Juice Making

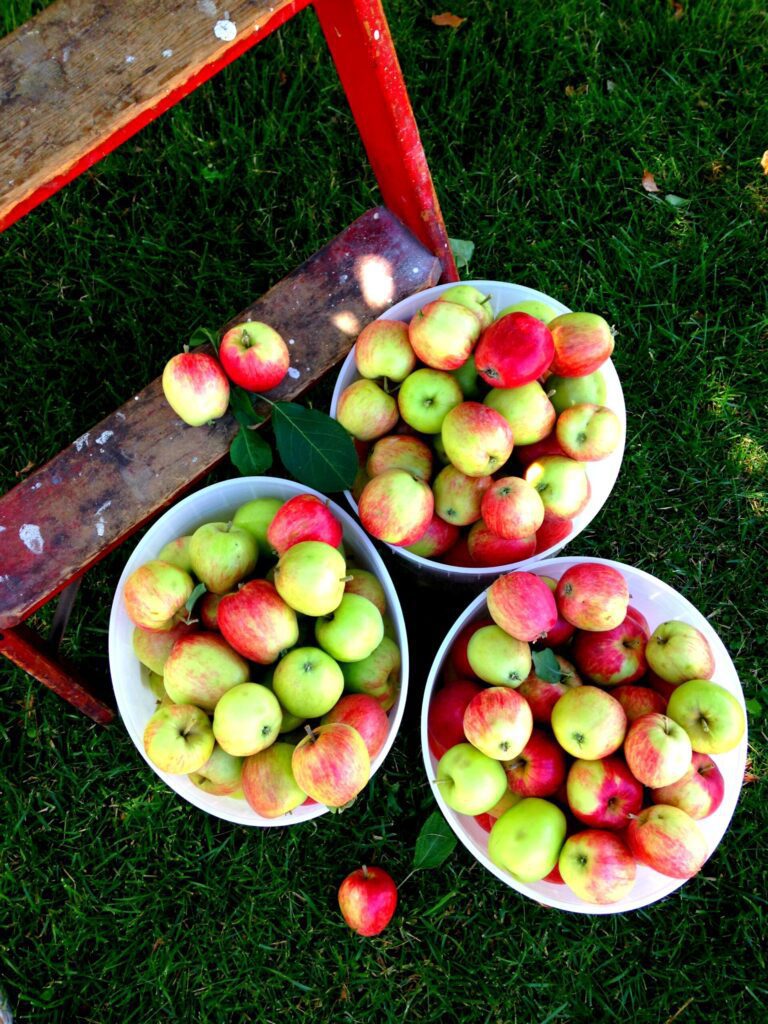
Thankfully, friends of ours had an apple tree teaming with unwanted apples.  If you’re making juice, you can even use the apples that have fallen.  Make sure they’re not too bruised, and avoid those that the bugs have used for lunch.

I have found that a commercial ice cream pail (the ones in ice cream shops, not in stores) full of crab apples makes around 4 jars of juice.  This will very a bit depending on the variety of crab apples.

Related: 28 Hardy Fruits to Grow in Zone 2 and Zone 3

Have you ever wondered how to use up all your crab apples?  Try making homemade apple juice with a steamer juicer!  It's easy, healthy, delicious, and you control the sugar. #apples #crabapples #juice #juicing #canning #preserving #crabapplejuice

We also had a few sweet little helpers join us. . .

IMG_2784 2
No, I did not have a secret second child. This is one of my god daughters, Evelyn.

IMG_2788 2

30 minutes later the apples were picked and we were ready to make juice.  The help may or may not have eaten a few apples along the way.  No names shall be named.

IMG_2792

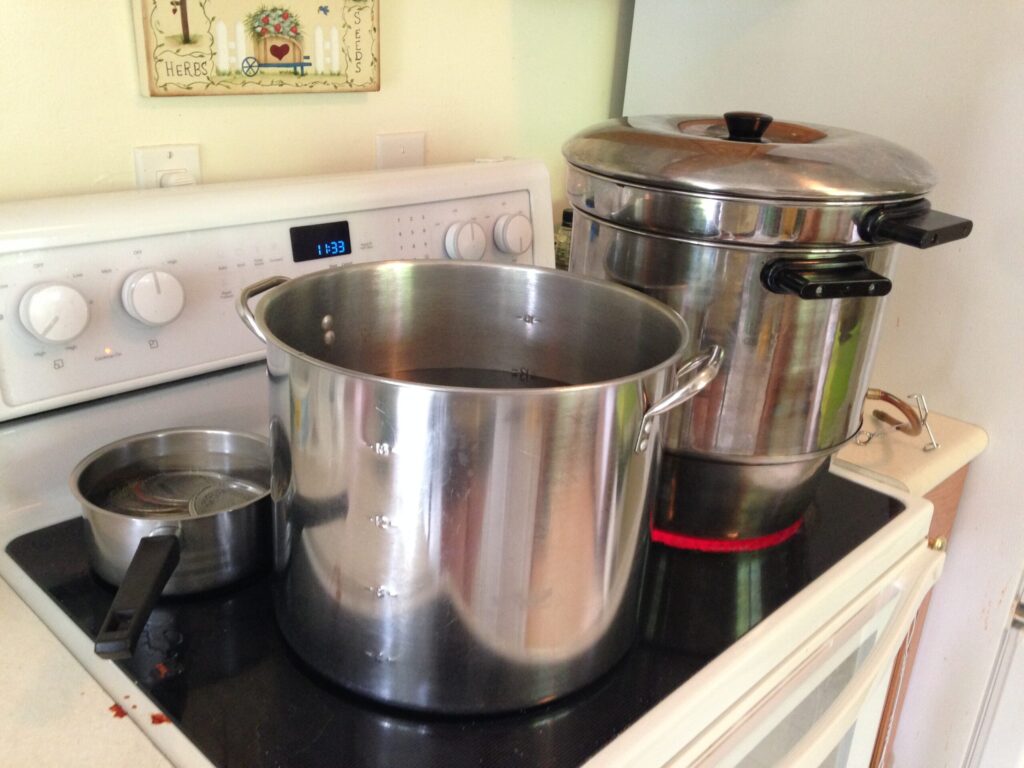
Making Crab Apple Juice With a Steam Juicer

Back in the kitchen, it was time to get started steaming the juice.  You will need:

  • Two large bowls filled with water and lemon juice
  • One bowl for scraps
  • Paring knives
  • Juicer
  • Large canning jars with lids & sealers
  • Large pot for canning
  • Wire basket or device for transferring the jars in and out of the water.

Read your juicers instructions thoroughly before starting!!

These are my perfect pie apples to be frozen for later use. My juice apples just needed to be cut in half with the stems removed. Your juicer may require something different, so please read the instructions.

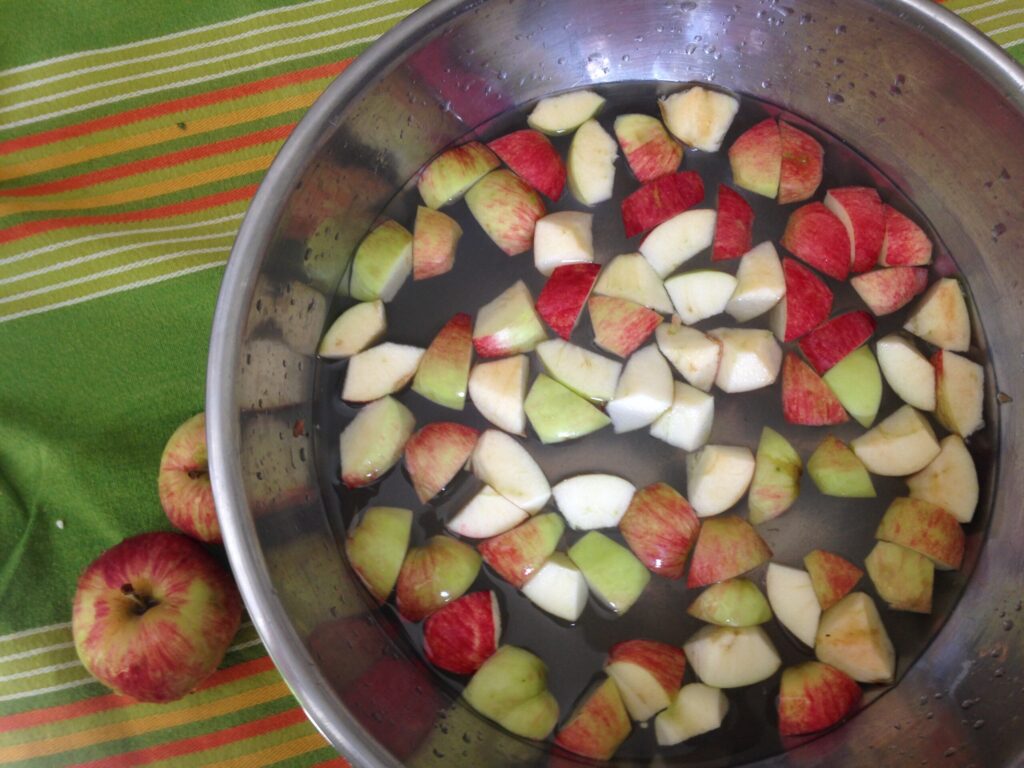
Start by sterilizing your jars.  This time around I sterilized my jars in the dishwasher and was happy with how easy this method was.  Enlist some friends to help you cut the apples.  Have two large bowls filled with lemon juice: one for your perfect pie apples and another for the less perfect juice apples.  Put on some music and make an afternoon of it. . . you’ll be cutting for awhile.

Related: How to Organize an Apple Pie Making Day

IMG_2810 2

Timing is Everything

My juicer requires apples to be juiced for 90 minutes.  I found that I could collect already at 45 minutes, and again at 90.  I wouldn’t leave all of it for 90 minutes, because your juice will likely run over into your boiling water.  Make sure you check and replenish the water with boiling water every 30 minutes.

IMG_2811

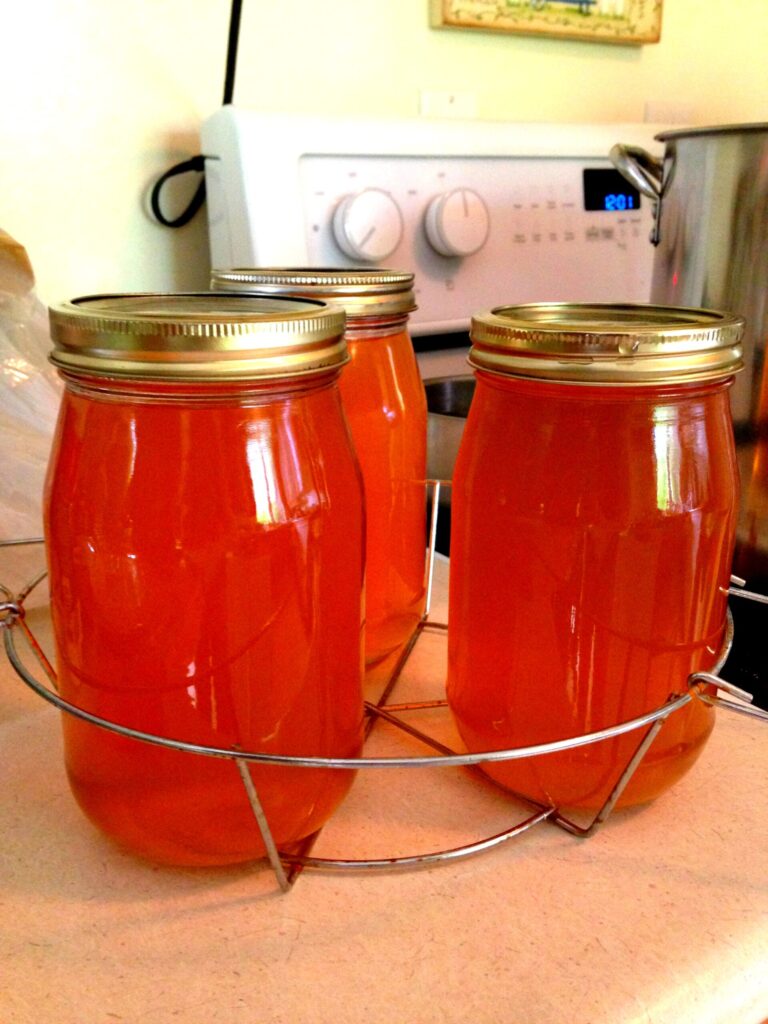
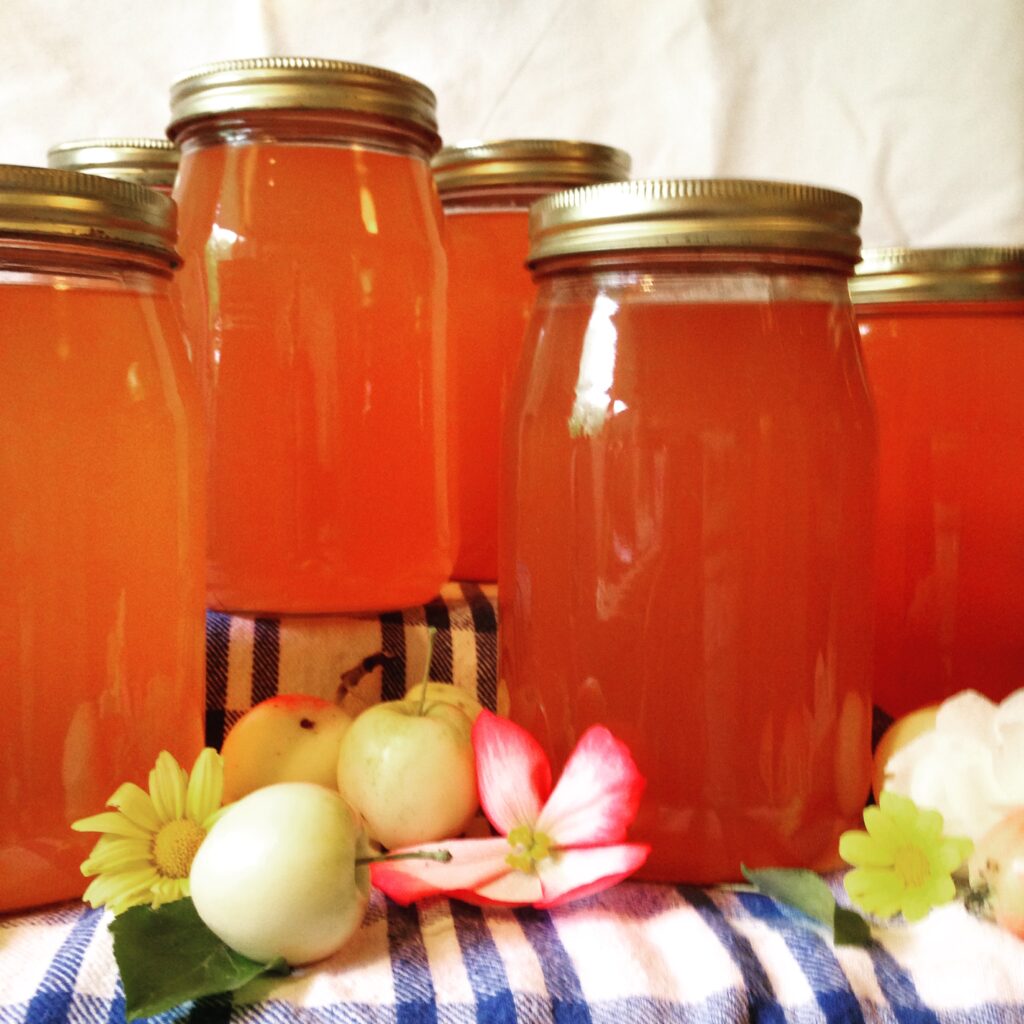
Truth time.  I steamed three sets of apples, getting just under 12 jars.  It took me around 7 hours, not including picking time.  I highly suggest setting aside a full day to make juice if you’re going to give it a try.

The extra effort is definitely worth it!  I’m looking forward to enjoying the literal fruits of my labour this winter.

IMG_2817


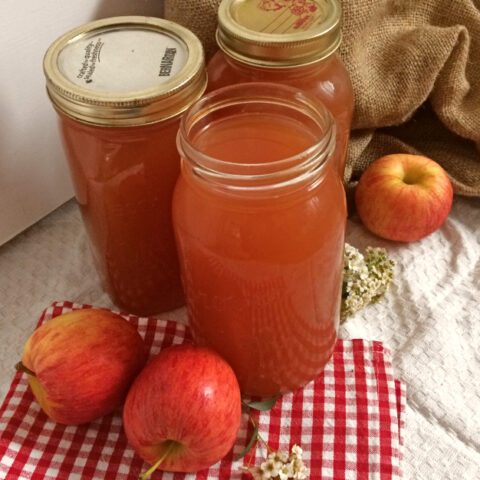
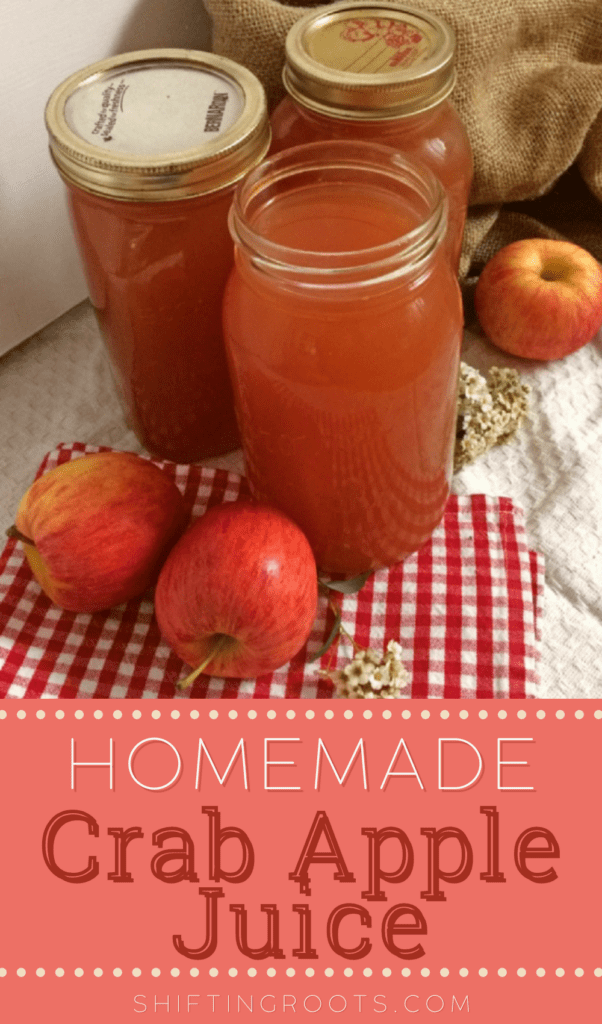
Homemade Crab Apple Juice

4 hours
4 jars
Ingredients:
3 gallons crab apples,
1 cup sugar (optional)

Cut crab apples according to your steamer juicers directions. Usually in half with stems is fine. Steam the apples for 90 minutes, collecting juice at both the 45 and 90 minute mark. If adding sugar, boil juice until the sugar dissolves. Pour into a sterilized canning jar, leaving 1/2 inch headspace. Loosely screw on lid boil the jar for 10 minutes (15 high altitudes). The jars should have at least 1 inch of water overtop of them. Remove from canning bath and let cool. If any jars do not seal, put them in the fridge and use within 3 weeks.

Have you given juicing a try?  Let us know your tips and trick in the comments!  Or, if you’re new at it like me, post a pic of your efforts.

Have you ever wondered how to use up all your crab apples?  Try making homemade apple juice with a steamer juicer!  It's easy, healthy, delicious, and you control the sugar. #apples #crabapples #juice #juicing #canning #preserving #crabapplejuice


SaveSave

Want to Start a Vegetable Garden?

Screen shot 2018 04 19 at 4.23.58 pm

Learn the basics in just a few minutes, and set up your first garden in a day or less!

Get just the basics you need to start your garden this spring. I'll also email you a mini email course, helpful tips and easy garden advice, straight to your inbox.

Ready to start your garden adventure?

Success! Now check your email to confirm your subscription.

There was an error submitting your subscription. Please try again.

We won't send you spam. Unsubscribe at any time. Powered by ConvertKit
Kristen Raney

Kristen is a former farm kid turned urban gardener who owns the popular gardening website, Shifting Roots.  She is obsessed with growing flowers and pushing the limits of what can be grown in her zone 3b garden.  She also loves to grow tomatoes, but oddly enough, dislikes eating them raw.

4 Comments
Filed Under: Fruit Season, Gardening, Harvest, Outdoor Life, Tutorials Tagged: Apple season, Canning, Crab Apples, How-to, Juice, Juicing, picking, Preserving

About Kristen Raney

Kristen is a former farm kid turned urban gardener who owns the popular gardening website, Shifting Roots.  She is obsessed with growing flowers and pushing the limits of what can be grown in her zone 3b garden.  She also loves to grow tomatoes, but oddly enough, dislikes eating them raw.

Comments

  1. Cheryl says

    August 5, 2016 at 2:18 pm

    Yummy! I have one of those juicers too, bought it at the same place and time as your mother in law!
    Reply
  2. Cristy says

    August 6, 2018 at 8:56 am

    None of your photos are accurate for crab apples. Crab apples are tiny compared to apples in your photo's. I'd be more inclined to use recipe if you were more accurate.
    Reply
    • Kristen Raney says

      August 7, 2018 at 10:44 am

      Hi Cristy, The apples in the photos are from an actual crab apple tree (except for the ones in the new pin, I needed to re-do it out of season). I'm not sure where you're from, but where I live in Saskatchewan, breeders have developed larger versions of crab apples that are better for juicing, pie making, etc that don't look like the old-fashioned small crab apples that you're maybe used to. I also find that some years are better than others for crab apples, and that in those years the crab apples are larger in size. I'm sorry you felt my post was misleading. It is impossible as a garden blogger to account for everyone's expectations of plants in every zone. All the best!
      Reply
      • Lindy Smith says

        September 17, 2019 at 8:25 pm

        My crabapples are the same size in your picture and I live in Montana!!
        Reply

Leave a Reply to Cristy Cancel reply

Your email address will not be published. Required fields are marked *

This site uses Akismet to reduce spam. Learn how your comment data is processed.

Grow roots with us

  • Email
  • Facebook
  • Instagram
  • Pinterest
  • Twitter
  • YouTube

Welcome!

Hi, I'm Kristen and I help new gardeners learn to grow their own vegetables and beautify their yards. I also share recipes that use all that delicious garden produce. Grab a coffee (and your gardening gloves) and join me for gardening tips, simple recipes, and the occasional DIY, all from the lovely city of Saskatoon, Saskatchewan.

P.S. First time gardener? You'll want to download the quick start gardening guide below!

Recent Posts

  • Why Won’t My Christmas Cactus Bloom? (And What to Do About it)
  • The Best Companies to Purchase Cut Flower Seeds for your Backyard Flower Farm
  • Naturally Sooth a Sore Throat and Cough now with these 6 Best Drinks and Non-Alcoholic Hot Toddies
  • Calm Your Cough with a Four-Ingredient Hot Toddy
  • 20+ Gift Ideas for the Gardener in Your Life this Christmas

Welcome!

Hi, I’m Kristen and I help new gardeners learn to grow their own vegetables and beautify their yards. I also share recipes that use all that delicious garden produce. Grab a coffee (and your gardening gloves) and join me for gardening tips, simple recipes, and the occasional DIY, all from the lovely city of Saskatoon, Saskatchewan.

Connect with Shifting Roots On. . .

  • Email
  • Facebook
  • Instagram
  • Pinterest
  • Twitter

Find What You’re Looking For. . .

Learn the Basics of Gardening in Just a Few Minutes

Screen shot 2018 04 19 at 4.23.58 pm

Gardening doesn't have to be complicated. Learn the basics in minutes, get started with your first garden in a day or less, and start your lifetime gardening adventure.

Enter your name and email address to download the Quick Start Garden Guide. You'll also get a mini-email course and weekly gardening tips and advice.

Success! Now check your email to confirm your subscription.

There was an error submitting your subscription. Please try again.

We won't send you spam. Unsubscribe at any time. Powered by ConvertKit
Instagram post 2193741846005217737_2204272319 DAY 6: 12 Days of Christmas Baking⁠
⁠
Today's recipe requires a little more time, but it's the weekend, so you can do it!  This recipe is what my family lovingly refers to as Hutzelbrot.  It's some sort of combination of 3 different German Christmas breads--if you want the full story you'll have to hop on the blog and read about the research I did.  Like many of my family recipes, it's roots are German, but it definitely got North-Americanized along the way.  Anyway.⁠
⁠
It's better than fruitcake and delicious as a breakfast bread.  I didn't really like it as a kid, but now that I'm an adult I gobble it up like there's no tomorrow.⁠
⁠
Ingredients⁠
⁠
2 1/2 cups dried fruit such as peaches, pears, apples, figs, apricots, prunes, cranberries, or currants.⁠
1/2 cup of raisins⁠
5 1/4 cups unbleached white flour⁠
1/2 cup warm water⁠
1 1/2 tbsp dry yeast⁠
1/2 tsp sugar or honey⁠
1 cup liquid from cooking fruit⁠
1 tsp cinnamon⁠
1 tsp salt⁠
1 tsp grated lemon or orange peel⁠
1/2 tsp ground cloves⁠
1/4 cup honey⁠
1/2 cup melted butter⁠
Instructions⁠
⁠
Boil all fruit except raisins. Drain and set one cup of liquid aside for use in the bread recipe.⁠
Combine sugar, yeast and 1/2 cup warm water and let yeast rise for 10 minutes.⁠
Put all ingredients in a mixer and mix with a dough hook until the dough makes a nice soft ball. You can mix by hand, but it is very difficult dough to work with and don't recommend it for beginners.⁠
Place dough in a greased bowl, cover with a tea towel, and let rise in a warm place until doubled in size. This can range from 1-2 hours depending on the humidity level where you live.⁠
Punch down and shape into loaves. Place in greased bread pans and poke holes in the top with a fork. Let rise for 30 minutes to 1 hour.⁠
Bake at 350 for 40-50 minutes, or 25-30 minutes if you use smaller loaf pans.⁠
Notes⁠
⁠
Rising times vary greatly depending on how much humidity is in the air on baking day. Even though the recipe takes a long time, most of that is spent impatiently waiting for the dough to rise.
Instagram post 2193017018314283996_2204272319 DAY 5: 12 days of Christmas Baking ⁠
⁠
Shortbread is one of my favourite Christmas treats, but whenever I made it I would always mess it up.  The first time I tried to replace the butter with margarine. . . bad idea.  Another time, I chose a three ingredient recipe that was so crumbly it wasn't worth eating.  Then I found this recipe and everything was better!! Until 2 Christmas's ago when I went to Jamaica and decided to make them for my new relatives.  Hot and humid country + different butter= cookies that were a complete disaster.  However, we didn't throw them away and someone served them when everyone came to visit the condo we rented.  I was mortified, but my brother-in-law's family loved them, as they had never experienced North American style baking.⁠
⁠
Moral of the story?  Don't make these in a tropical-weather country.  But even if they flop, they're still really delicious!⁠
⁠
1 cup corn starch,⁠
1 cup icing sugar,⁠
2 cups flour,⁠
1 1/2 cups butter, softened⁠
Instructions⁠
⁠
Mix all ingredients and spoon on to a cookie sheet.⁠
Optional: chill for 30 minutes and roll out for a cut cookie⁠
Apply sprinkles or cherries before baking⁠
Bake at 300 degrees Fahrenheit for 15 to 20 minutes. Cookies should have the barest hint of light brown at the edges. Makes 48 small cookies⁠
⁠
If you want the cookies to look like this, skip the sprinkles and the cherries and bake them plain instead.  Once everything has cooled, dip cookies in melted white chocolate and sprinkles.
Instagram post 2192292281407280453_2204272319 DAY 4:  12 Days of Christmas Baking⁠
⁠
Sometimes, I feel like I am a terrible neighbour.  The Hermit and I rarely get to the communal shovelling of the winter snow for our neighbours first.  There's always some weird garden experiment going on, and it feels like we've been renovating forever.  How do I make up for it?  Fresh tomatoes, jars of jam, the odd bouquet of flowers, and finally, a box of this fudge that magically shows up on their doorstep at Christmas.  I make about 8 batches of the stuff in all different flavour combinations, cut each batch into 8 large chunks, then I package them up in little sampler packs that I give out to said neighbours, Dominic's teachers, Aulaire's babysitters, or whoever I want to give a little Christmas gift to.⁠
⁠
The recipe is super simple and it's fairly idiot-proof.  No crumbly fudge here!⁠
⁠
3 cups semi-sweet chocolate morsels⁠
1 can Eagles Brand Sweetened Condensed Milk or homemade recipe (which I used)⁠
Dash of salt⁠
1.5 tsp vanilla⁠
⁠
Optional toppings/decorations⁠
1/2 c nuts (stir in, or crush and sprinkle on top)⁠
Mini marshmallows⁠
White Chocolate chips to melt and drizzle for decoration⁠
Coconut flakes⁠
⁠
Melt chocolate in a bowl over a water bath. Stir in sweetened condensed milk, salt, and vanilla. Combine until smooth.⁠
⁠
Add any additional optional ingredients you want IN the fudge (nuts, marshmallows). Pour & spread evenly into an 8×8 pan lined with wax or parchment paper. This is a great time to add optional toppers.⁠
⁠
Refrigerate 2 hours, or until set, and then remove from pan & paper and cover tightly with plastic wrap to avoid it drying out. If cutting into several pieces at once (& sometimes mini cookie cutters are nice for this), set it out on the counter for 20 minutes or so to soften enough for neater, easier cuts.
Instagram post 2191567720172943549_2204272319 DAY 3: 12 Days of Christmas Baking⁠
⁠
So today's recipe isn't actually baking that you would put on your tray per se, but it is super crucial to many recipes you might want to make and will save you money.  It's. . . *drumroll please*. . . Homemade sweetened condensed milk!⁠
⁠
Seriously, this stuff is worth the extra effort and it tastes so much better!  You'll want to make a batch for tomorrow's recipe, where I share my no-fail fudge. (Well actually, it's one of reader's no fail fudges, but I feel like it's mine now because it's been my go-to for 3 years!)⁠
⁠
1 cup powdered milk⁠
2/3 c white sugar⁠
1/3 c water⁠
1/4 c butter⁠
⁠
Combine in blender until extremely smooth⁠
⁠
Also, let me know if you make any of this stuff.  I would love to see your pictures of any of your creations during the 12 days of Christmas baking.  Tag me @shifting_roots and I'll be sure to share your baking in my stories.
Instagram post 2190842732075560326_2204272319 DAY 2: 12 Days of Christmas Baking: Rice Krispie Trees⁠
⁠
Back in the day when I baked for almost 200 people over 4 Christmas recitals with 60 students, plus one choir that required some baking too, my goals were this: make things that are pretty, tasty, and kid friendly.  Because what's the point of making all this baking if the kids in my music studio don't eat it?!?⁠
⁠
That's how these Rice Krispie Christmas Trees were born.  They are a tiny bit fussy in the fact that there's melting chocolate and sprinkles, but they make the eater feel like they are getting something really special.. . and they are!⁠
⁠
If you use big enough cookie cutters (you don't have to be limited to just trees) you could even use them as a classroom present for your students, as these should be free of most common food allergens.  Just get the gluten-free Rice Krispies if you have any kids with Celiac.⁠
⁠
Ingredients⁠
⁠
6 cups Rice Krispie cereal,⁠
40 large marshmallows,⁠
1/2 cup butter,⁠
1 tsp vanilla,⁠
1 1/2 cups white chocolate melting wafers⁠
sprinkles⁠
⁠
Instructions⁠
⁠
Melt butter, marshmallows and butter in a large bowl in the microwave for approximately 5 minutes, setting the microwave one minute at a time and stirring in between.⁠
Add Rice Krispies and press into a large cookie sheet. Allow to cool. Cut Christmas tree shapes with cookie cutter.⁠
Melt chocolate wafers and dip in Rice Krispie treats. Add sprinkles if desired. Work fast, as the chocolate dries quickly!
Instagram post 2190118109285570760_2204272319 DAY 1: 12 Days of Christmas Baking⁠
⁠
Let's start off the season with one of my favourite, easy, I-keep-coming-back-for-more-even-though-I-probably-shouldn't Christmas treats--Almond Roca.  You may also know it as Christmas Crack, or in our family, "that thing that Auntie Sandy makes."⁠
⁠
Whatever you call it, make sure you make an extra batch, because there won't be leftovers!⁠
⁠
Ingredients⁠
⁠
1 sleeve soda crackers (2 for a large cookie sheet)⁠
1 cup butter,⁠
1 cup brown sugar,⁠
3/4 cup slivered almonds,⁠
1/2 cup milk chocolate chips, melted,⁠
1/2 cup white chocolate chips, melted.⁠
⁠
Instructions⁠
⁠
Line cookie sheet with tinfoil. Spray with Pam.⁠
Layer crackers.⁠
Bring butter and brown sugar to a boil for 2 minutes, stirring often.⁠
Pour over crackers and bake in a 325 oven for 10 minutes. Turn off oven. Sprinkle with almonds and return to the oven for 5 minutes.⁠
Cool. Drizzle melted milk & white chocolate chips, alternating colours.⁠
Cut in squares and serve.⁠
Instagram post 2189707999618969478_2204272319 Get ready friends, tomorrow is the start of my 12 days of Christmas baking!  I’m sharing all my favourite recipes—most of them simple and a few of them more complicated but worth the extra steps.  Until then, what’s your favourite Christmas treat?
🎄
On a more personal note, today would have been my Grandma’s 96th birthday.  Back in the day when my voice studio involved 60 students in 4 different communities with multiple recitals, my Grandma and I baked 2 or 3 things every Tuesday from November to mid-December.  While sometimes I got annoyed that she was constantly reminding me to do this or that, I really miss her help with the recipes that are better with two people, her insistence on doing the dishes as we go, help decorating, and her silly little jokes as she loved to tease me.  Baking will never be the same, and I’ve always felt a little bit lonely every Christmas as I make my recipes.  Hopefully my kids will someday enjoy baking with me, and I’m sure that I’ll constantly make them check if the cookies are burned or not.
😉
#12daysofchristmas #christmasbaking #christmasbakinghasbegun
Load More… Follow on Instagram

Theme Design By Studio Mommy · Copyright © 2019