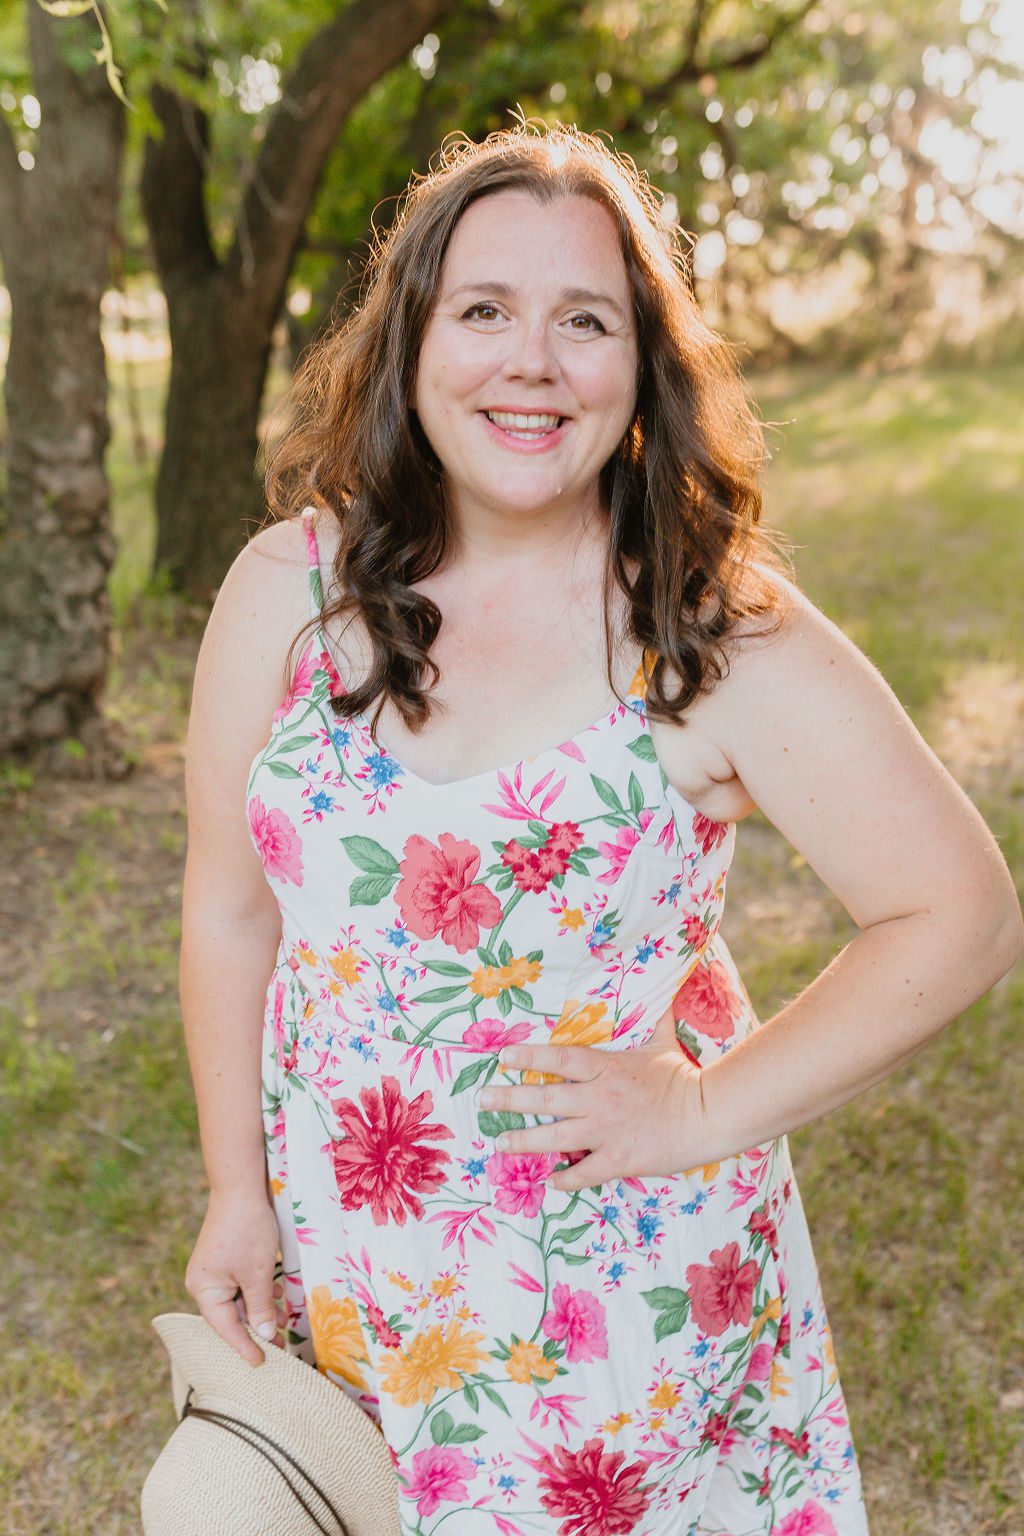
Hi, I'm Kristen!
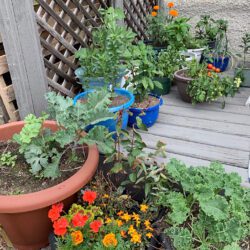
I’m a former farm kid who became a singer, scrapped it all, and came back to her roots helping new gardeners cut through the confusion of growing cut flowers, perennials and vegetables–all from a zone 3 perspective. I’m obsessed with growing the prettiest flowers, pushing the limits of what can be grown in my cold climate, and collecting eggs from my chickens every morning.
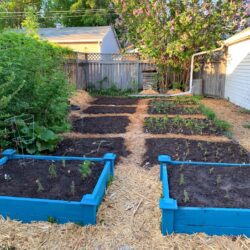
After many years of growing small space urban gardens, I recently moved to an acreage just outside of Saskatoon, SK Canada, where I have enough space for a flower farm and to live out my gardening dreams. There’s never a dull moment here as my husband and I garden with our kids ages 10, 3, 2, and newborn, along with a collection of cats and chickens.