
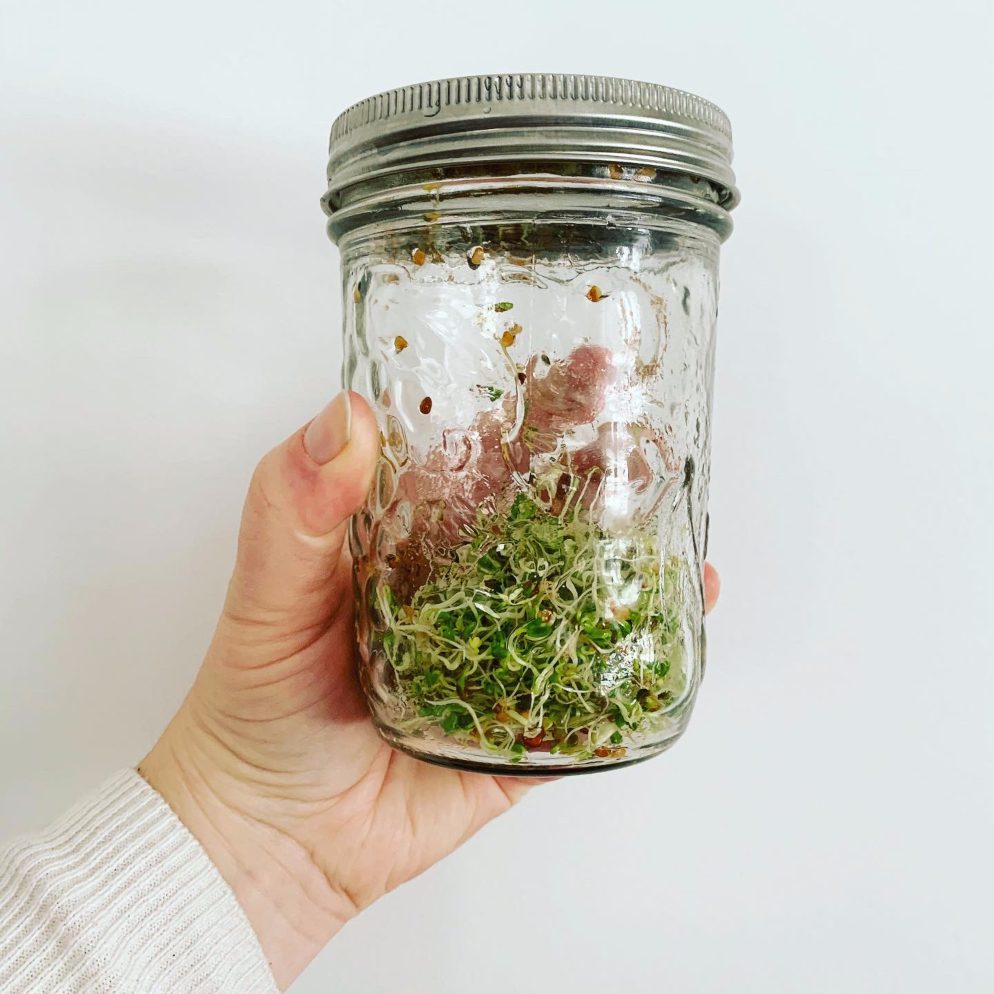
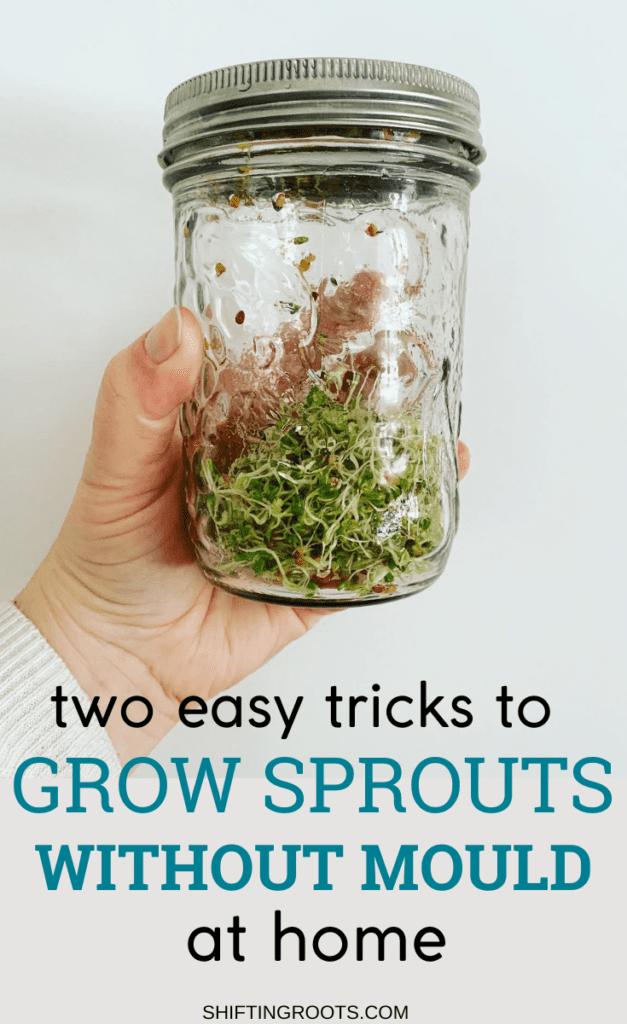
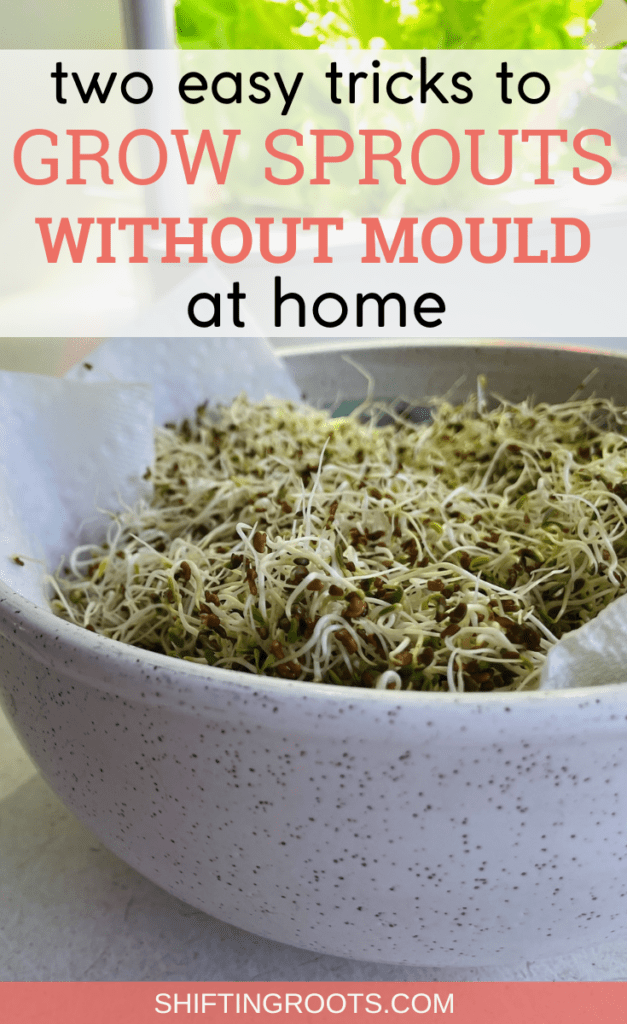
Growing sprouts at home is an easy way to provide nutritious greens for your family without fancy equipment and a fun winter indoor gardening project. But many beginner sprout growers encounter one big problem that discourages them from trying sprouting again: mould.
Nobody wants to find mould in their homegrown sprouts. Who wants to throw out precious food that you spent all that time growing?
Thankfully, there are two really simple growing tricks that will stop mould in sprouts–with barely any extra work required on your part!
But first, let’s get to the root of the problem…
This post contains affiliate links, which means that if you purchase something, I earn a small commission at no extra cost to you. You can read more about it on my privacy policy.
Why are my sprouts moulding?
Simply put, your sprouts are sitting in too much water. If the sprouts are too wet between rinses and there’s no airflow, this creates the perfect conditions for mould growth.
Now, on to the two tweaks that will prevent fuzzy sprouts…
1. When it’s time to rinse, do it twice
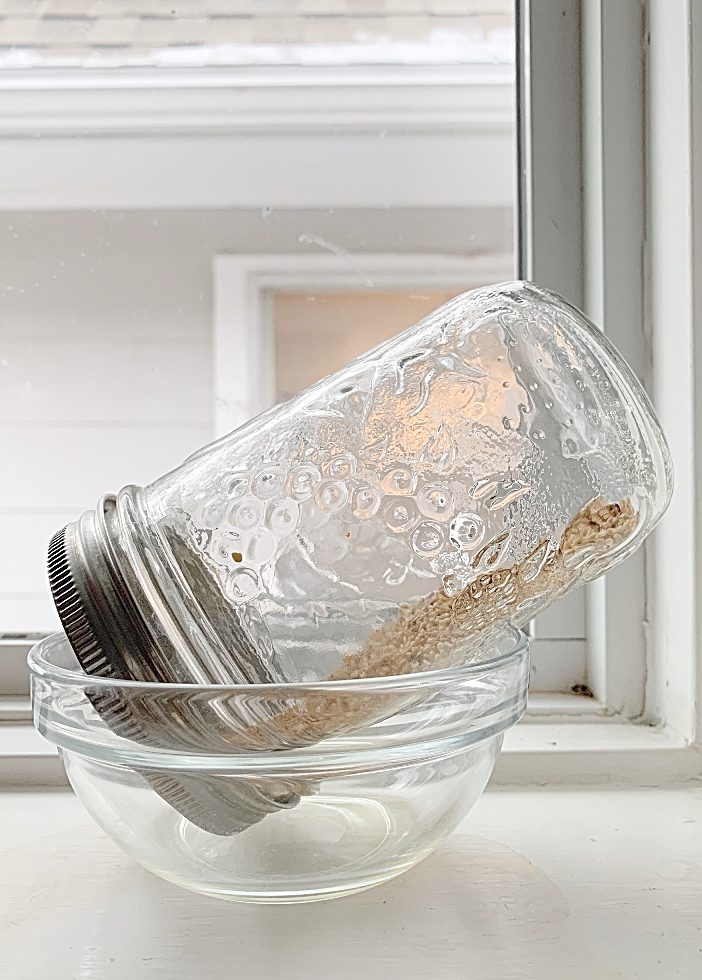
Sprouts must be rinsed twice daily, but once just isn’t enough. Put water in the jar, swirl the sprouts, and dump the water out. Do it again, but this time, very carefully let the water drain at a 45-degree angle, trying to keep the sprouts as spread out in the jar as possible. Then…
2. Rest the jar in a bowl at a 45-degree angle to drain the remaining water
You know how when you set the jar back upright, there’s always that tiny little pool of water at the bottom? Setting the jar in a bowl prevents water from collecting at the bottom, thus preventing mould.
Finally, when it’s time to store the sprouts in the fridge, there’s one bonus trick to keeping them longer…
Related: Take a Bite Out of Your Grocery Shopping Budget with These Lettuce Growing Strategies
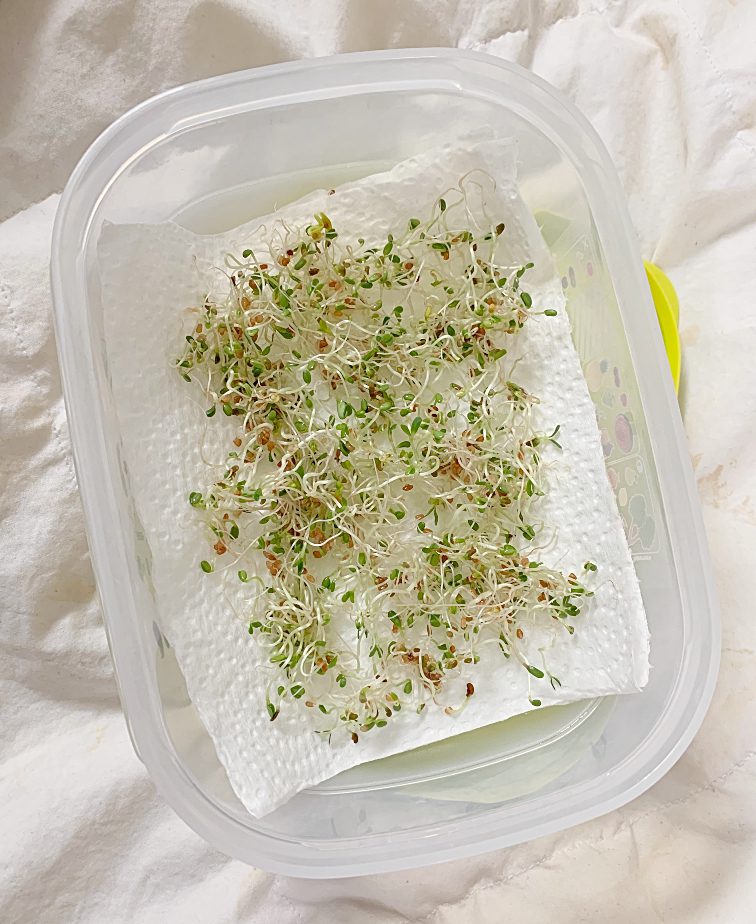
3. Place a paper towel at the bottom of a fridge smart container for the longest possible life
The towel at the bottom of the container will collect any remaining moisture and help avoid surprises. You don’t have to use a Tupperware fridge smart container; a regular plastic container or knockoff will work, too.
Related: How to Start Seeds When Your Home Has No Light or Space
[convertkit form=3754706]
How Do I Start Sprouting At Home?
To start your sprouting journey, you’ll need the following ingredients:
- seeds for sprouting
- mason jar
- sprouting lid
- small bowl for tipping your sprouts
If you’re sprouting for the first time or you haven’t done it in a while, here’s how you do the whole process step by step…
- Loosely fill the bottom of the jar with sprout seeds.
- Fill a jar with water and soak for 4-8 hours or overnight.
- You are now starting day one. Rinse the sprouts morning and night, two times each time. On the last rinse each time, carefully follow the tricks above to prevent mould.
- Set the jar in a bowl between rinse times. Your sprouts do not need a lot of light so you can keep them in a darker room.
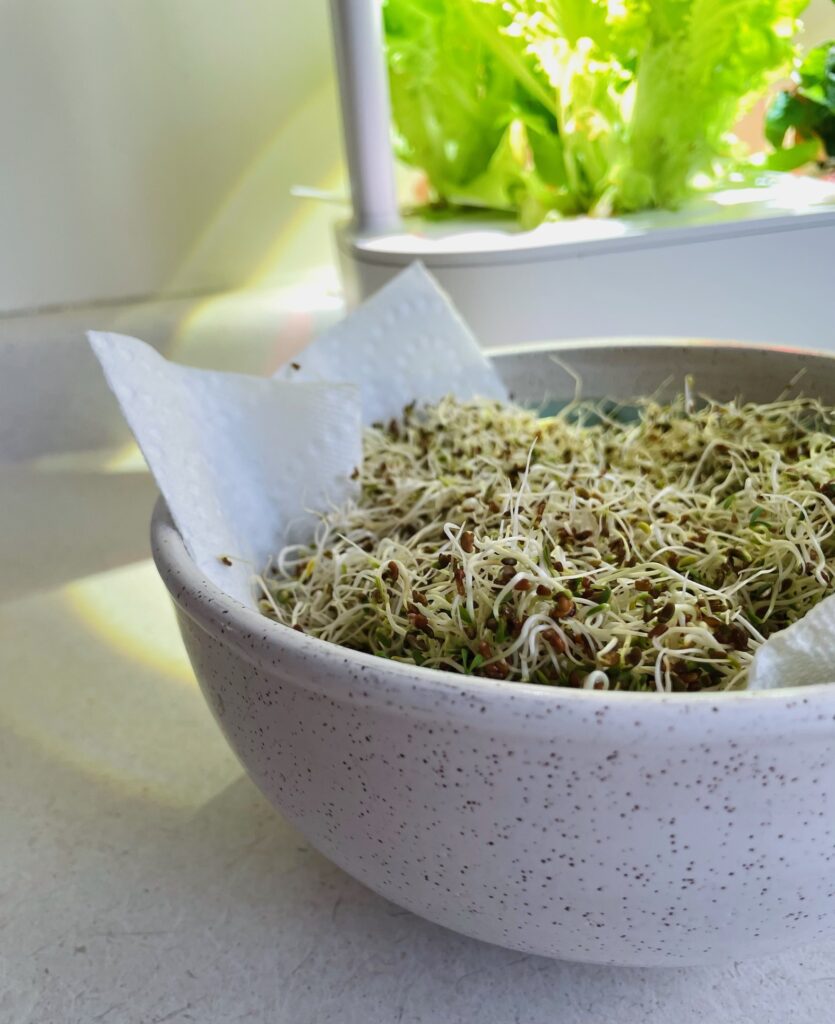
- Repeat the process until your seeds are ready, anywhere from 2-7 days depending on the variety of seeds you purchased.
- When the seeds are ready, follow the bonus trick to store them so they keep longer.
Related: DIY Seed Starting From Your Window
That’s it! I hope you enjoy your sprout-growing journey!
If you liked this blog post, find me on Facebook, TikTok, and Instagram for more cold-climate vegetable gardening tips, delicious recipes, and cut-flower goodness! I also make weekly videos over on my YouTube channel. I hope to see you there!
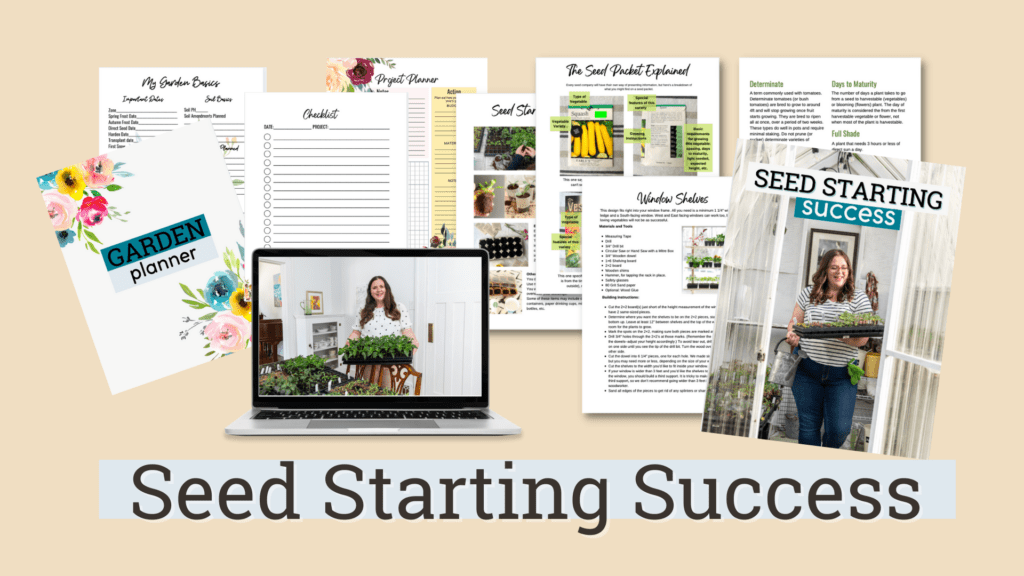
HAVE YOU TRIED SEED STARTING, ONLY TO BE LEFT WITH STRETCHED-OUT SEEDLINGS AND DEAD PLANTS?
You’re not a bad gardener–you just need a little know-how. For the price of a few seed packets, you can stop wasting time and money and start growing seedlings that actually live, and you get to harvest. Don’t miss out on another growing season. Get your copy of Seed Starting Success now (videos included)!

Maureen
Kristen Raney
Tina F
Chris
Sherry
Kristen Raney
Jon Anderson
Jessica Coblentz
Kristen Raney
Leslie
Kristen Raney
Jon Anderson, MEngr, MD
Jon Anderson MEngr, MD
Louise
Tara Fielding
Stephanie