
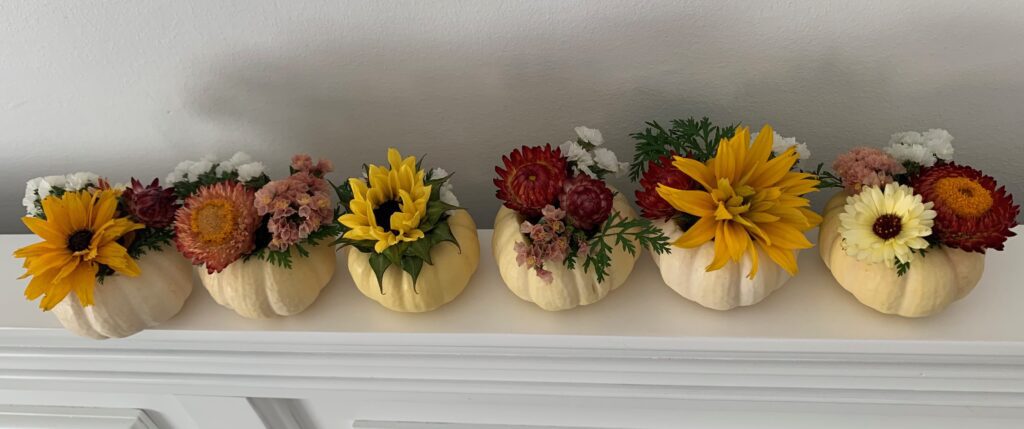
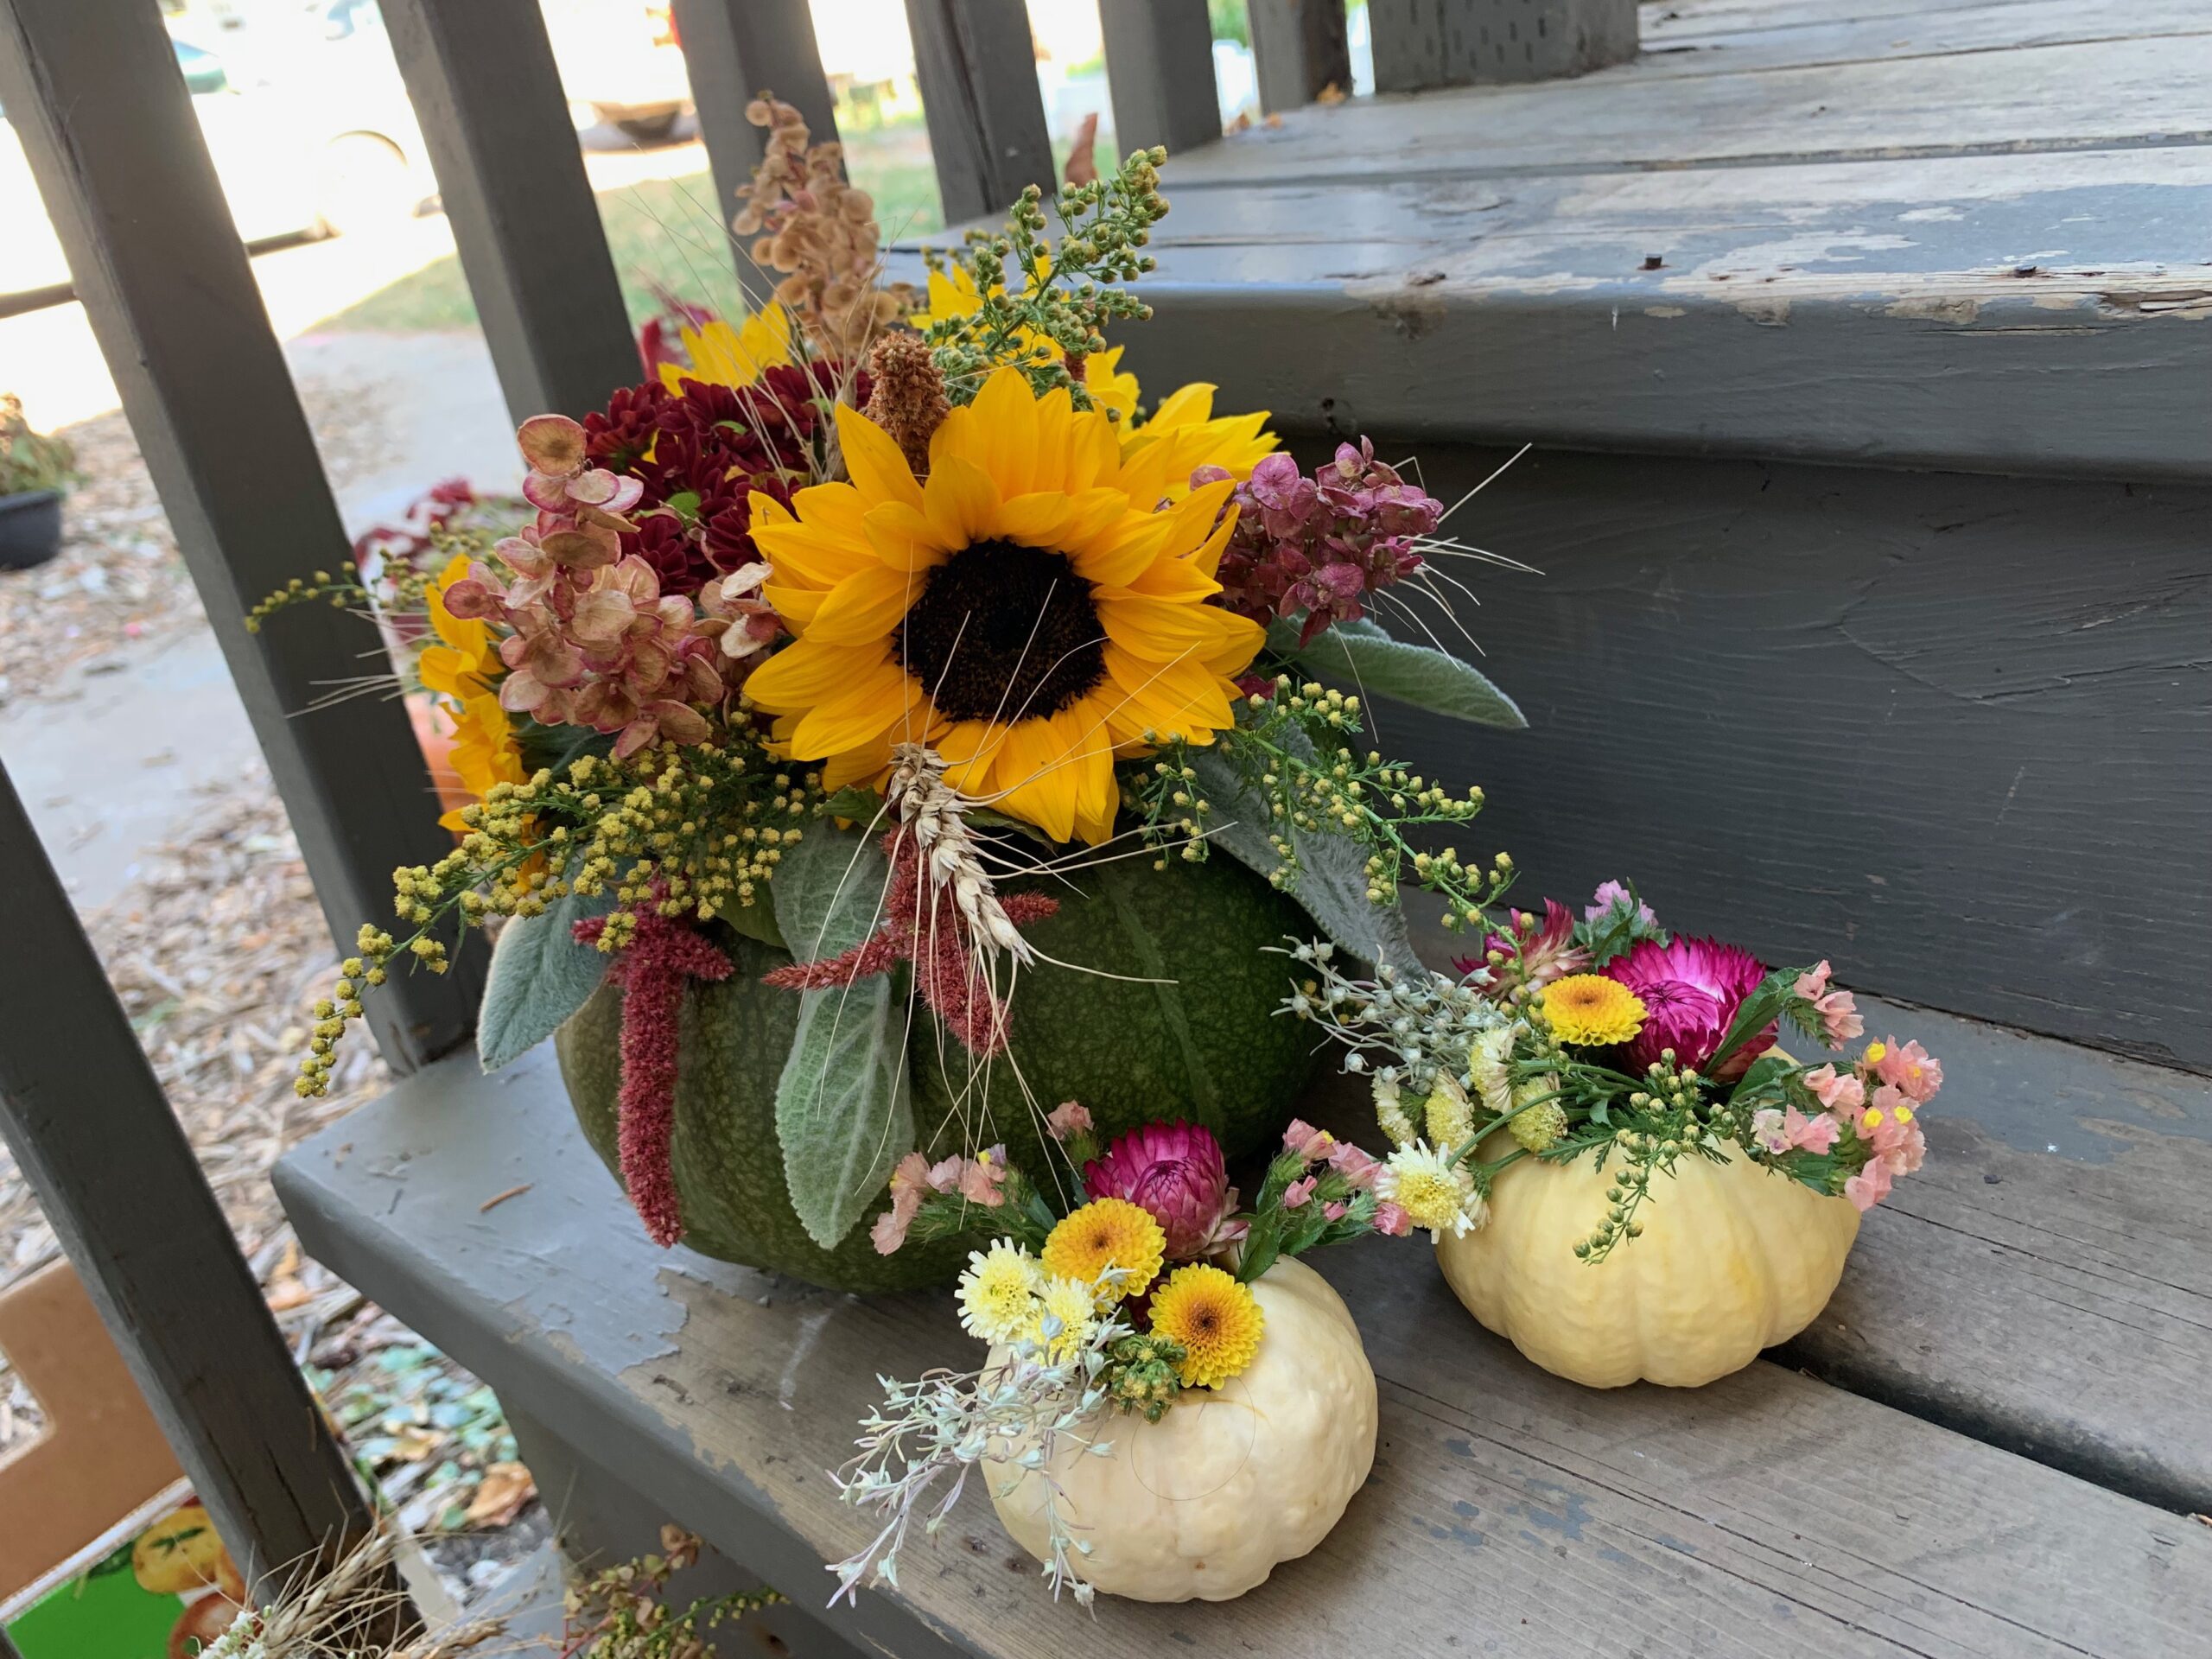
Have you fallen in love with flower and pumpkin centrepieces? They’re so unique for a Thanksgiving centrepiece or a fall wedding. But for as cute as they are, there’s only one problem—how do you get the pumpkin to last?!
I’ve typically found that the pumpkins hold up for 4-7 days before they get really gross. Now, the difference between 4 days and 7 days doesn’t seem like a lot. But when you’re trying to sell pumpkins to paying customers, you want your product to last as long as possible.
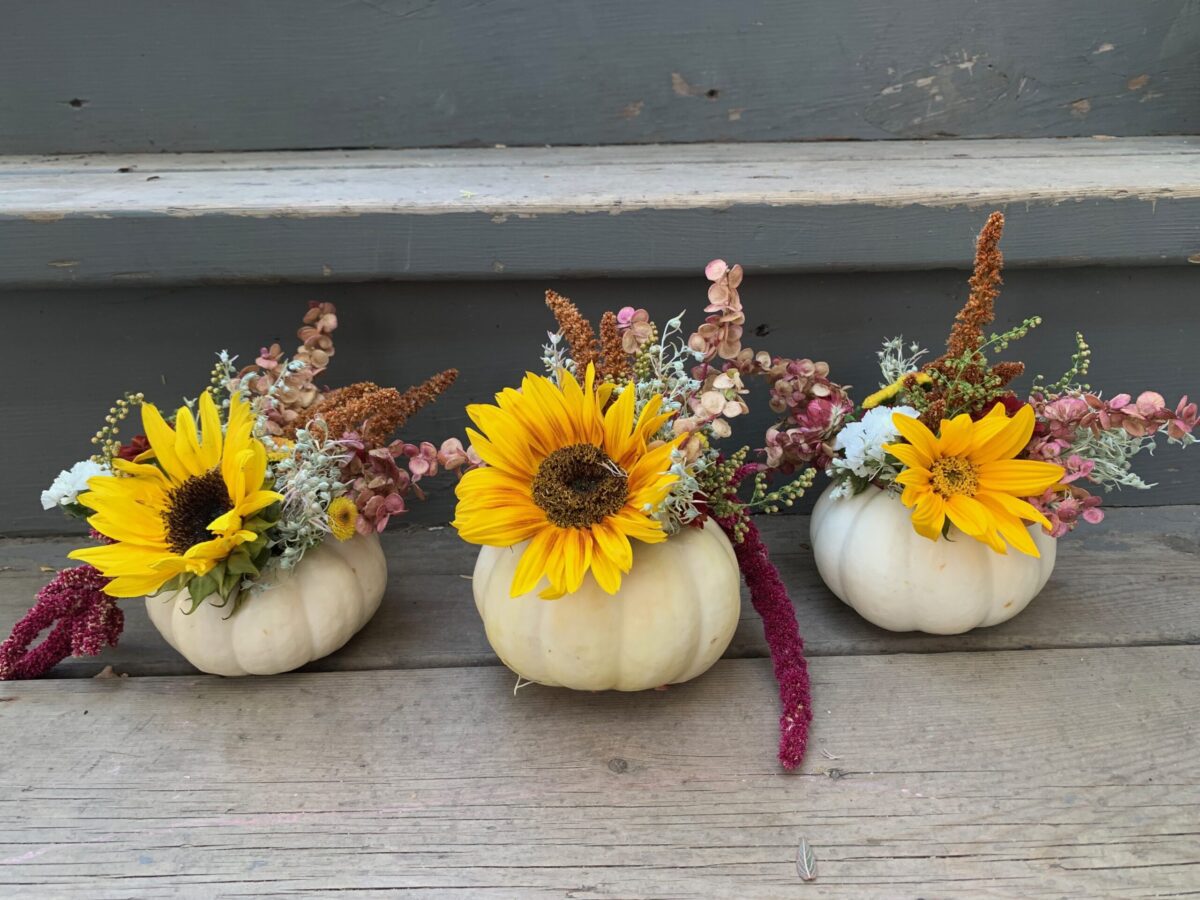
My Thanksgiving pumpkin centrepieces were a huge hit this year, and I wanted as many happy customers as possible. So, as I started selling the pumpkin bouquets, I experimented with different ways the pumpkin vase could store water and last the longest.
I started by simply just pouring water into the pumpkins with nothing else inside. But then I had the idea to put small containers within the larger pumpkins to store the water and hold some of the flowers up. I have also heard that some flower farmers use soil in their pumpkin bouquets while others mix oil and water inside the pumpkin.
All these ideas sparked the idea to simply try all six ideas to see which pumpkin filler would make the arrangement last the longest!
P.S. If you’re looking for information on how to make pumpkin centrepieces, check out this YouTube video, where I demonstrate it in real time!
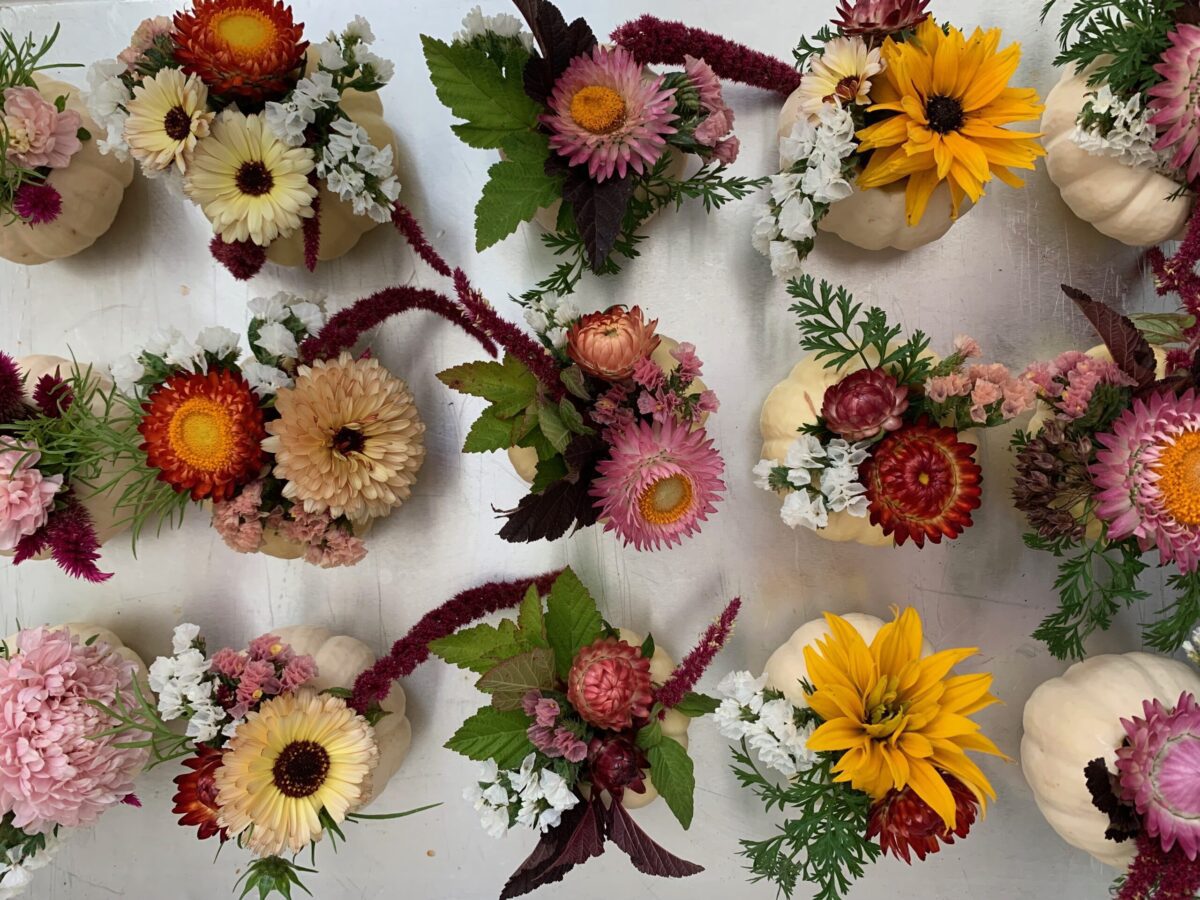
six ways of crafting fresh flower Pumpkin centrepieces
Pumpkin #1: Water Only
The first pumpkin was a water-only pumpkin. I carved it out, gave it a quick rinse with water, and filled it 3/4 of the way with water.
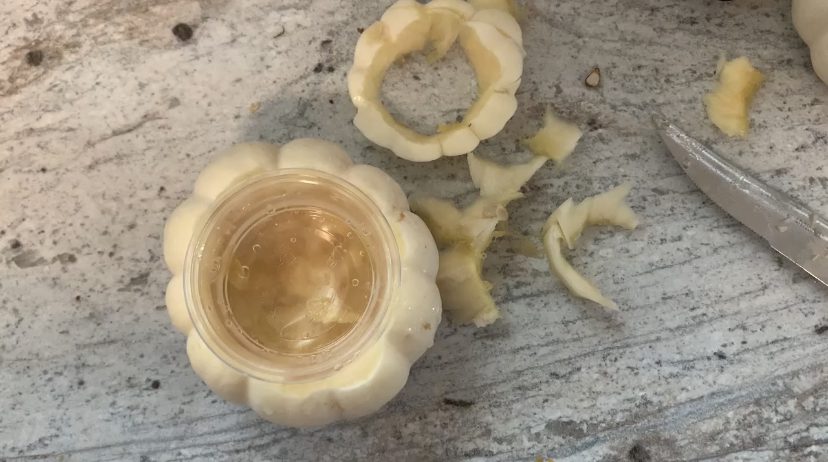
Pumpkin #2: Water & Container
The second pumpkin was cut open and cleaned out. Then, a small plastic container was inserted and filled with water.
Pumpkin #3: Soil Only
Why not try the simple solution of putting dirt into the pumpkin? I remember doing this with succulents for one year, and the pumpkin lasted for 2 weeks. This pumpkin was cut open, then I went straight to my backyard, dug some dirt, and threw it into the pumpkin.
Pumpkin #4: Bleach Rinse & Container
Like the other, this pumpkin was carved out, but instead of rinsing and cleaning it with water, I used a bleach and water solution to rinse it out. Once it was rinsed, another small plastic container was inserted and filled with water.
Some people leave the pumpkin to soak in the bleach solution for up to an hour, but mine just got a rinse.
Pumpkin #5: Oil & Container
Pumpkin 5 was carved and cleaned out, just like the others, but once it was rinsed out, I took some oil and put it inside the pumpkin. Once the entire pumpkin was rimmed on the inside with oil, I put in another small container and filled it with water.
I used canola oil, but I don’t think the type of oil would really make a difference. If you decide to go this route, use what you have.
Pumpkin #6: Container Only
After trying so many different things, I realized that I needed a “control pumpkin.” What would happen if you just didn’t do anything? So the last pumpkin was simply carved out and inserted with a container with water.
What next?
Once all the pumpkins were done, I put them on the mantle of my fireplace and let them sit for a week. The room is north-facing with two west-facing windows, and none of the pumpkins were in direct sunlight.
I did not add any water or flowers or special treatment to any of them, and checked in 7 days later!
The Best Way to Get A Long-Lasting Pumpkin Centrepiece
1. Pumpkin #1: Water Only
The simplest way ended up being the best in the experiment! The water-only pumpkin did the best overall after one week. It retained its colour the whole week, the water stayed reasonably clear, the pumpkin was plump, and there was no odour coming from the pumpkin! There was only a little bit of mould that would not be recognizable when filled with flowers.
2. Pumpkin #5: Oil & Container
I was quite impressed with the oil-rinsed pumpkin. Out of all the pumpkins, pumpkin #5 remained the most sturdy and had a hard exterior. This pumpkin got second place, though, due to the discolouration that the oil caused to its exterior. Even after continuing this experiment for week #2, this pumpkin still had no mould!
3. Pumpkin #2: Water Rinse & Container
In third place is the water rinse and container combination on pumpkin #4. Compared to the remaining pumpkins, there was not much squish and not much visible mould. When the container was removed, the bottom of the pumpkin and surrounding the container were quite mouldy – but it still did better than the others!
Details on the Remaining Pumpkins
Overall, the remaining pumpkins were not something I wanted on my table after a week.
The soil pumpkin (Pumpkin #3) did not do well at all. It was extremely squishy and completely discoloured. I would say this pumpkin performed the worst overall, but it didn’t have any mould.
I also thought the bleach rinse (Pumpkin #4) would do better – but it did not! It was extremely squishy, the mould was visible from the top outside of the pumpkin, and it attracted fruit flies like a bear to honey.
The container only (Pumpkin #6) also performed quite badly. There was the most amount of mould out of all the pumpkins on this one, and it also attracted many fruit flies. The squish test of this pumpkin was also very poor.
Troubleshooting
With every experiment, there are always flaws and things that I realized I should have done after the fact. First of all, I did not put flowers into all of the experimental pumpkins! This might have changed the discolouration in some of the pumpkins or helped reduce the mould as well.
If you leave your pumpkin arrangement outside in a colder environment with water only, it can honestly last up to three weeks! Be sure to use weather-hardy flowers or flowers that dry well, and they’ll last beautifully! I made up a pumpkin bouquet and put it outside on my doorstep, and three weeks later, it is standing tall and colourful!
Even if you’re not planning on making any pumpkin centrepieces, you could apply this experiment to your Halloween Jack-o-lantern. Just maybe don’t do the oil one unless you’re using a battery-operated candle.
Do you have any special treatment to make pumpkins last longer? Tell me about it in the comments!
If you liked this blog post, find me on Facebook, TikTok, and Instagram for more cold-climate vegetable gardening tips, delicious recipes, and cut flower goodness! I also make weekly videos over on my YouTube channel. I hope to see you there!
Ready to grow your own beautiful cut flower garden without the hassle?
I’ve taken all the guesswork out of creating a cut flower garden with my e-book, Cut Flowers Made Simple. It’s the perfect way for beginner and intermediate gardeners to start their own cut flower garden with or without seed starting!
WANT TO EXTEND YOUR CREATIVITY TO BOUQUET MAKING?
Bouquets Made Beautiful includes a collection of my best bouquets of all sizes, throughout all seasons, including a flower-by-flower list with pictures for every single one! I also share my favourite colour palettes that I return to over and over again. Whether you’re a backyard gardener or a farmer florist, this highly visual ebook will help you create better-looking bouquets and give you more confidence that you’re growing the right things.
If you’re planning for an event and ready to take your flower farming to the next level, this ebook is also available in the DIY Wedding Bundle alongside Cut Flowers Made Simple and the Flower Farmer Garden Planner.


Join the conversation