
July and August are busy months for the Saskatchewan berry picker. Strawberries start off July, followed by Saskatoon berries, raspberries, and then finally, sour cherries. Of the four, sour cherries are my favourite. Yes, they are a lot of work, but they are well worth the effort.
We love them so much in our house that my son and I polished off 4 jars of sour cherry jam within one month. It was supposed to be our whole year’s supply!
Processing sour cherries is the kind of job that makes a beginner nervous. Sour cherry farms are not as popular as other fruits (at least in our area) so it can be daunting to find a place to pick. The thought of pitting the cherries is scary.
Is the cost of a cherry pitter worth it? How do I pit the cherries without one? What can I make with sour cherries? In this blog post, I’ll answer all of these questions and more!
This post contains affiliate links, which means if you purchase anything, I earn a bit of extra coffee money at no cost to you. You can learn more about this in my privacy policy. Thanks for supporting Shifting Roots!
Picking and Harvesting Sour Cherries
Let’s start with a story!
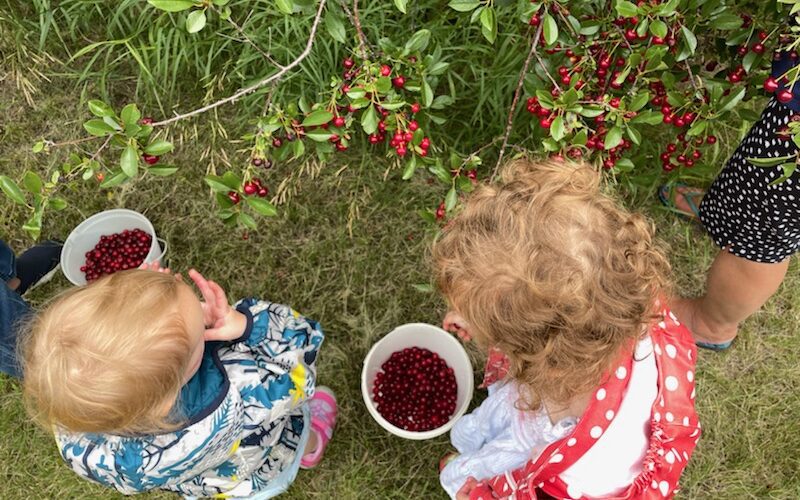
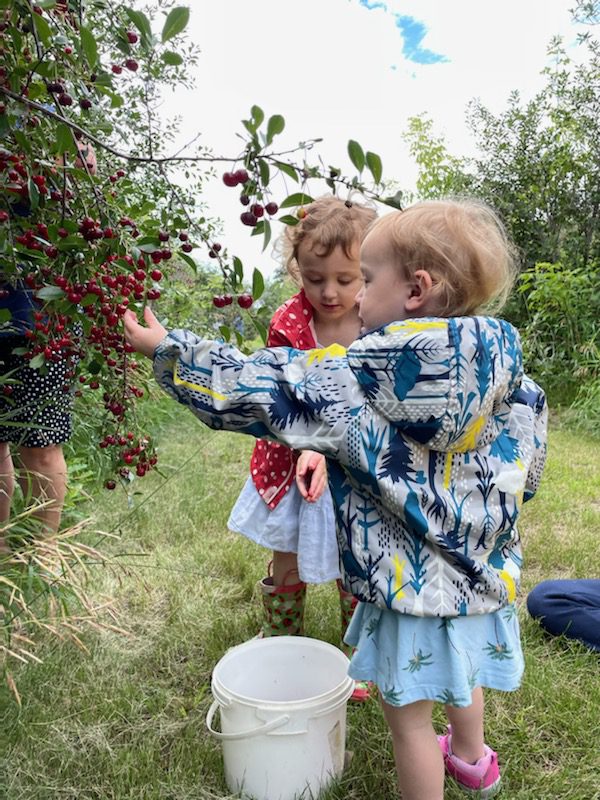
My cherry-picking expedition in 2017 happened in two parts. The first at my mother-in-law’s acreage with her 20-foot cherry tree. The ladder was short, the cherries were high, and the birds were eager to eat every last cherry before I could pick them.
Since the birds love cherries just as much as I do, I had to pick them when they weren’t quite fully ripe. Thankfully, I like them that way and didn’t notice a huge difference in taste.
NOTE: If you prefer riper cherries, leave them in the fridge for a few days and they will continue to ripen. If you are picking on a tall tree like I was, please pick safe over clean! Be careful of your reach. As much as I dislike when birds eat my cherries, it is okay to leave the tallest ones for them.
The second part of my cherry-picking expedition was visiting the u-pick cherry orchard in Bruno, SK. I have never experienced such nice cherry picking. My mom and I were able to pick an ice cream pail each within 20 minutes. We both picked off the same tree, and when we were done you could barely tell that we had picked off of it!
Related: Tricks and Tips for Picking, Cleaning, and Processing Berries
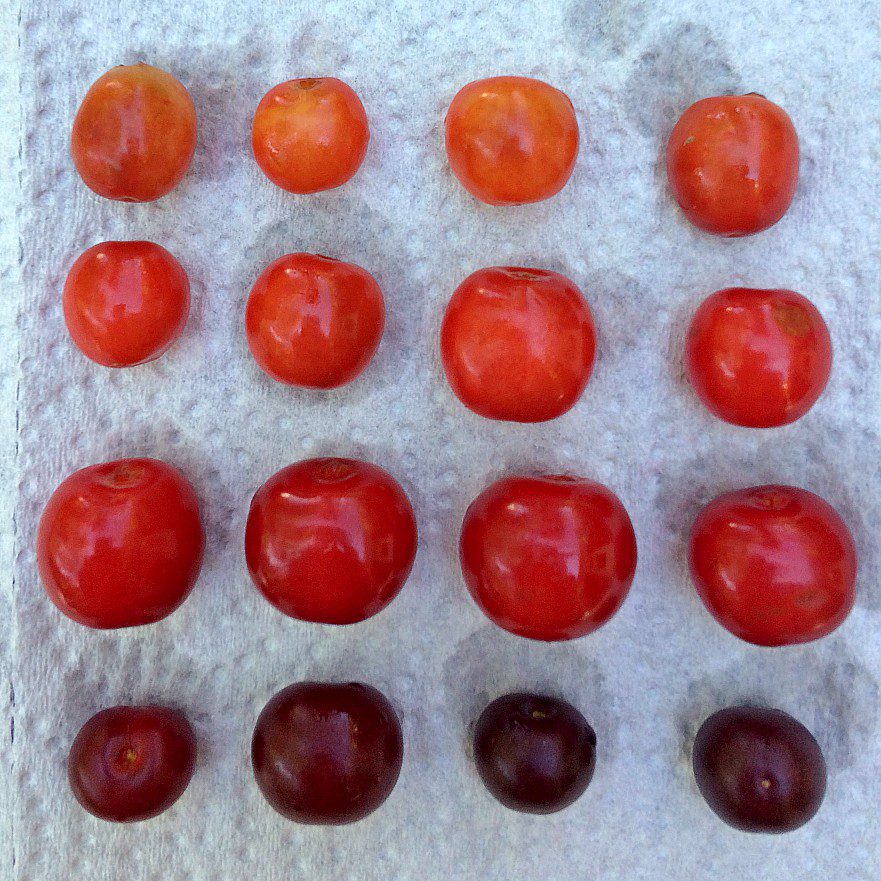
Ready and Ripe
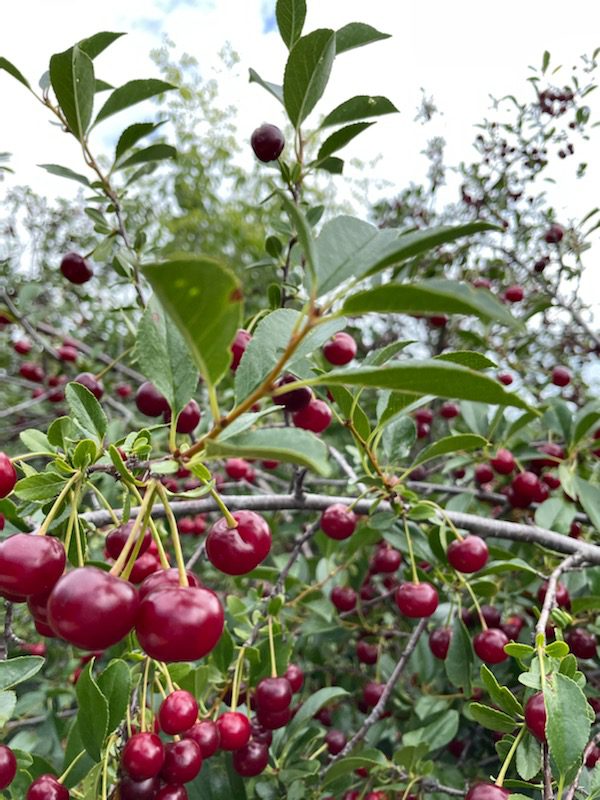
In the picture below, I’ve laid out the different stages of sour cherry ripeness. You’ll want to pick your cherries when they are the colour of the third row if you have lots of birds, and the fourth row if you don’t.
Sour cherries are ripe when they easily pull off the stem. There is nothing better than picking a loaded cherry tree in the hot summer sun.
Related: For the Love of Berry Picking
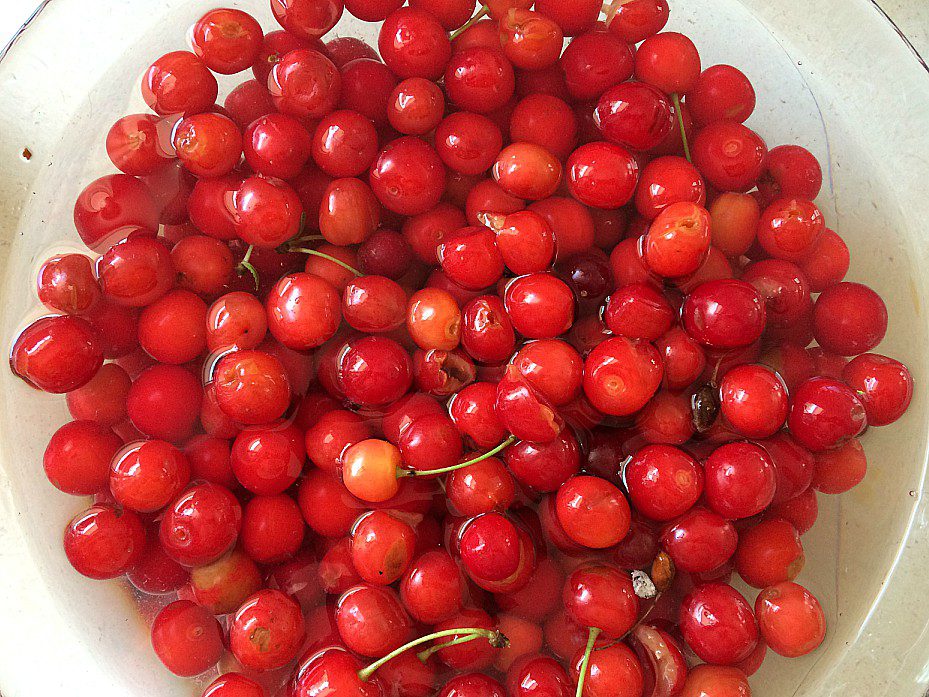
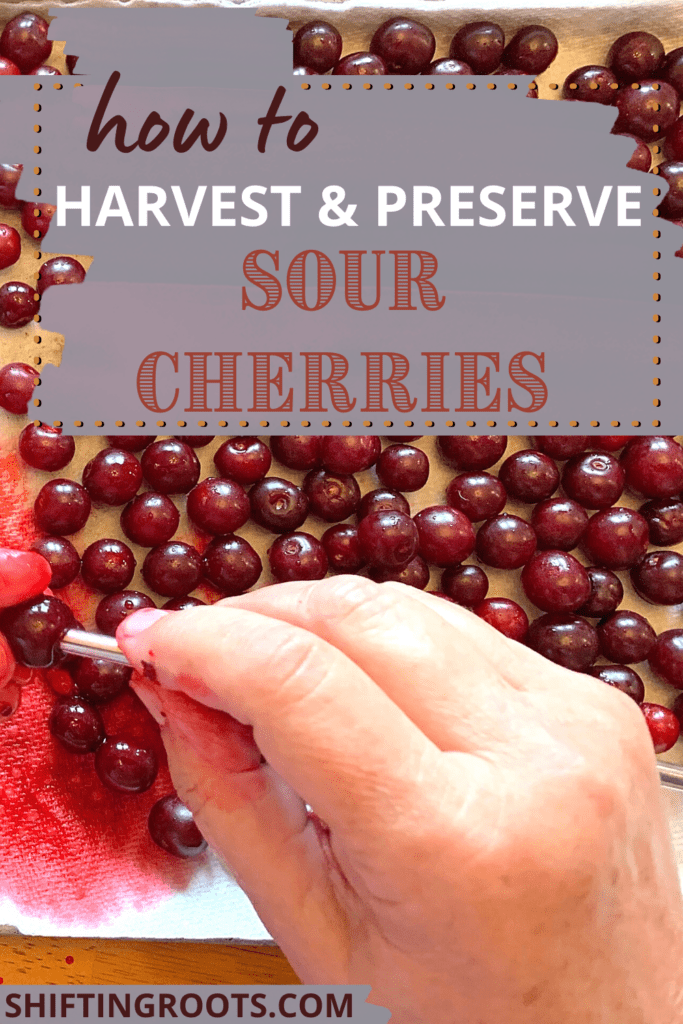
PITTING Sour Cherries
Cherries are surprisingly easy to process, but pitting them does take a lot of time. If you don’t have a cherry pitter, I suggest putting a movie on Netflix and roping a friend into helping you.
Start by rinsing your cherries with water, then move on to pitting them. Here’s a quick little video to show you how I pit my cherries with a knife. My mom likes to wear gloves to protect her hands.
Allow at least an hour per pail to pit your cherries. If that’s not for you, here’s a link to a small cherry pitter![]() and a large cherry pitter
and a large cherry pitter![]() . I have not personally used either of these products, but the reviews on both of them are very positive.
. I have not personally used either of these products, but the reviews on both of them are very positive.
related: THE BEST WAYS TO PIT SOUR CHERRIES (EVEN WITHOUT A CHERRY PITTER)
Freezing and Canning Sour Cherries
Once you’ve pitted all your cherries, it’s time to decide how you want to preserve them. I like to make a few jars of jam, and freeze the rest in portions for pie, desserts, and for mixing with my yogurt and oatmeal during the winter.
I freeze the sour cherries destined for pie in large freezer bags![]() mixed with sugar and fruit preservative. You can skip both the sugar and the preservative, but they help keep the colour and flavour.
mixed with sugar and fruit preservative. You can skip both the sugar and the preservative, but they help keep the colour and flavour.
I’ve also pre-made my pie filling by cooking 6 cups of cherries with 2 cups of sugar and 1/2 cup of flour. You can use more sugar if you like. I serve my pie with ice cream, so I like to compensate for the sweetness. Check out the full recipe here: The Ultimate Easy Sour Cherry Pie. The rest of the cherries are measured out in 4-cup portions and frozen for later use.
PRO TIP: Remember to label your bags BEFORE you put the cherries inside. Include the date, how many cups there are, and how much sugar you added. When you’re making desserts or jam, remember to subtract this amount of sugar from your recipe.
Here’s a quick video on the whole process:
Kristen’s MOST-Loved Sour Cherry Jam Recipe
Finally, I want to share our family recipe for sour cherry jam. It isn’t fancy and is very similar to one written on the pamphlet that comes with a box of pectin. Despite its humble origins, it’s super delicious and always the first kind of jam we run out of.
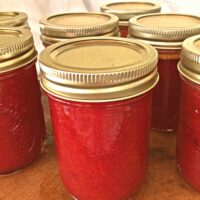
SOUR CHERRY JAM
A simple and delicious sour cherry jam.
Ingredients
- 4 cups pitted sour cherries
- 4 1/2 cups white sugar
- 1 pouch pectin (either liquid or powder is fine)
Instructions
1. Fill a canner with water and heat. You'll need enough water to cover the tops of your jars by an inch. Once the water in your canner starts to get some small bubbles you can start to cook your cherries.
2. Fill a smaller pot with water and boil the lids and rims. Here's a link to a canning set similar to the one I use.
3. Sterilize your jars by putting them in the oven at 235 degrees Celsius for at least 10 minutes. I leave mine in the oven until just before I'm ready to use them.
4. Chop your sour cherries in a blender or food processor for 15-30 seconds. Pour in a large pot and add sugar and pectin.
5. Bring to a boil, stirring constantly for 3-5 minutes, or until the colour of the cherries changes.
6. Skim the foam off the cherries. The foam will start out pink and eventually turn red. This is how you know your cherries have cooked enough. Do not worry if you can't get all the foam off.
7. Take your jars out of the oven and fill them with cherry jam. Leave a 1/4 inch (1/2 centimetre) of headspace (the space between your jam and the top of the jar).
8. Wipe off any spills and cover with a seal and rim. Screw the rim on loosely. If you put it on too tight it can prevent the jar from sealing.
9. Put the jars in boiling water and let them boil for 10 minutes. Make sure you have an inch of water over the top! I prefer this smaller-sized mason jar for this reason.
10. Remove the jars after 10 minutes and set them in a place where they can remain for 24 hours. You should hear a pop as they seal, and the lid should not move.
What do you do if you’ve messed up your cherry jam?
Mistakes can be beautiful.
If your jam doesn’t seal, you can pop it back in the boiling water for a few more minutes. You can also put it in your fridge and use it first.
If your jam doesn’t set (get gel-like), you can use it as sour cherry syrup!
Over the years I’ve made many mistakes. I’ve had jam not set, set too much, burn because I got distracted, and boil over in a super terrible mess. It’s okay. Sometimes it takes a few tries before you get the hang of things. Don’t give up!
RELATED: NO-CHURN SOUR CHERRY CHEESECAKE ICE CREAM
Picking and processing sour cherries is lots of work, but it’s so worth the effort. If this is your first time, start with one pail. Try and team up with someone who has processed cherries before if you can. You can ask questions and it’s really nice to have the company!
Find me on Facebook, TikTok, and Instagram for more cold-climate gardening tips, delicious recipes, and cut flower goodness! I also make weekly videos over on my YouTube channel. I hope to see you there!
P.S. If you love the content I create for Shifting Roots, consider joining our community on Patreon. Your support means the world to me and I am grateful for each and every one of you!
DO YOU JUST WANT THE RECIPE WITHOUT HAVING TO SCROLL TO THE BOTTOM?
If you’re looking to make delicious recipes with your homegrown hardy fruits, look no further. Check out my e-book Prairie Fruit for over 25 mouth-watering dishes using Saskatoon berries, sour cherries, raspberries, rhubarb and more!

BUY NOW!


Sarah Althouse
Yolanda
Kristen Raney
Claire - Heart Handmade UK
Kristen Raney
Melissa
Bailey
Kristen Raney
Sheri
Becca @ Homemakers In Action
Bobby
Kristen Raney
Angela
Donna
Emily Snyder
Kristen Raney
Katie Gelsi
Kristen Raney
Kathrine
Kristen Raney
Dawn Hockaday
Caroline Csak
Kristen Raney
Edie
Steve
Don
Juanita L Liebrecht
Ogema Orchard
Molly
Rachel