
I’ve had an irrational fear of processing pumpkins for the longest time. It just seemed overwhelming. How would I cut them? Why did the guts have to be so gross to deal with? What do I do with all those seeds?
Then, as pumpkin puree climbed to $4 a can (and even higher now in 2022 at $6), I decided enough was enough.
In this blog post, I walk you through processing fresh pumpkin so you can save some money and have customizable, delicious purees and other processed pumpkin delights at your fingertips. Make sure to read all the way to the end for some delicious pumpkin recipes!
Related: Easy Pumpkin and Succulent Decoration
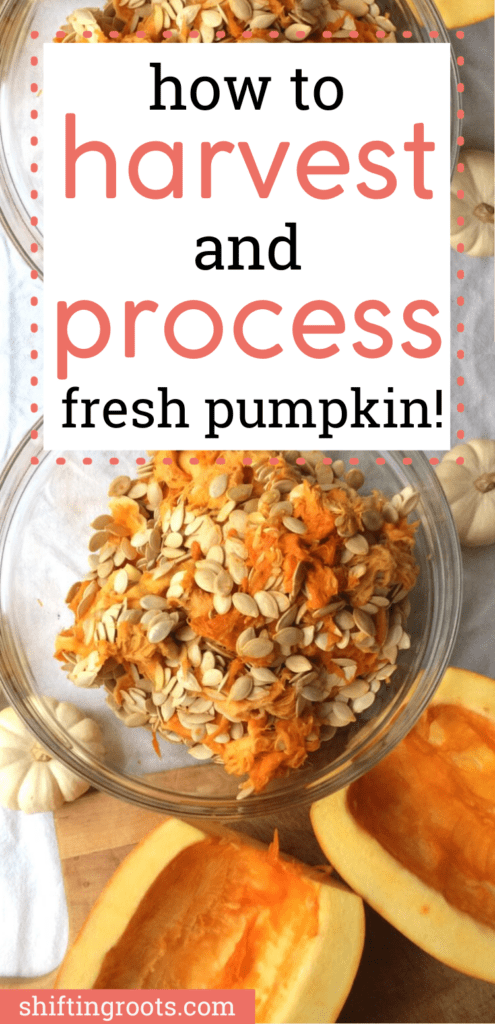
PROCESSING FRESH PUMPKIN
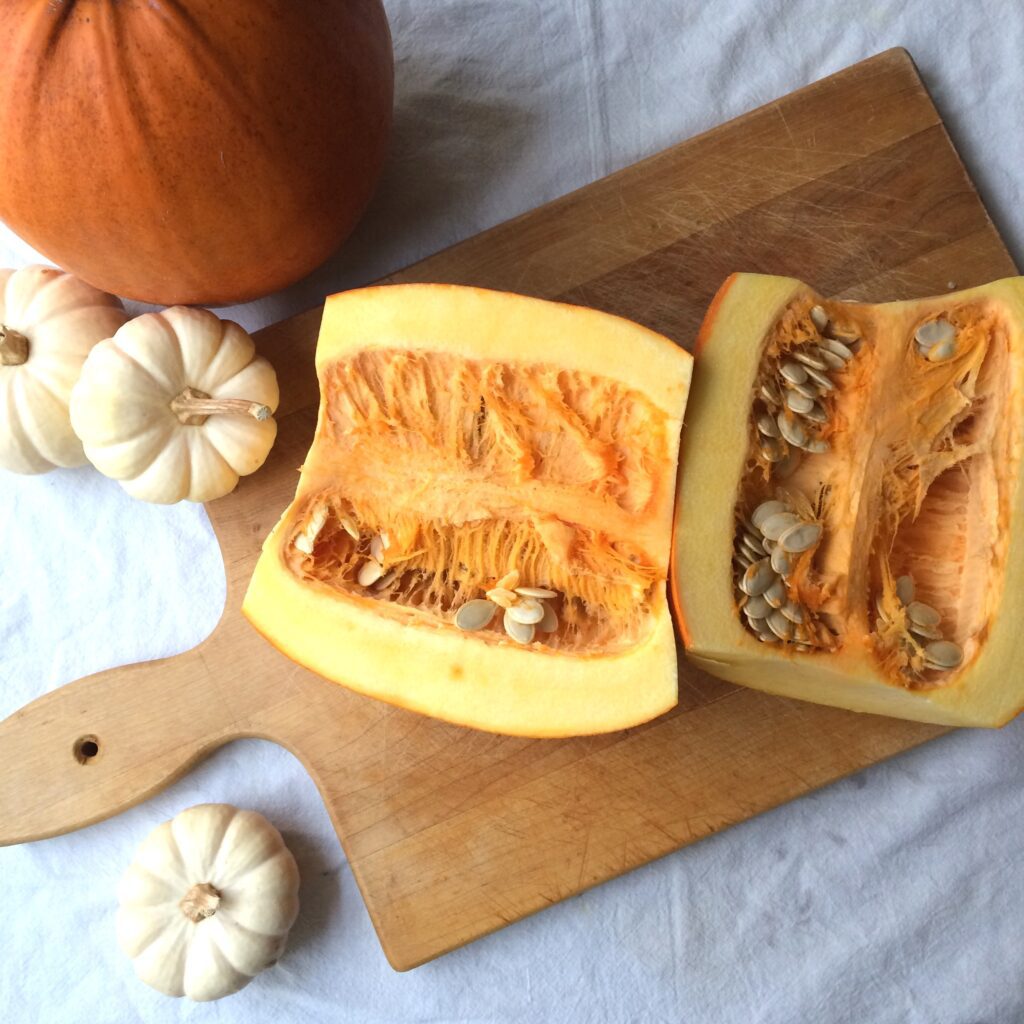
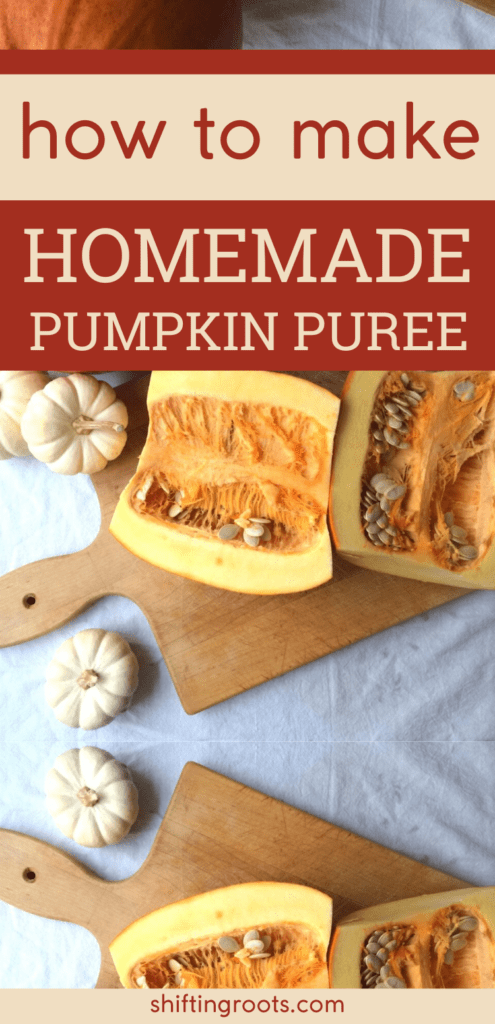
1. Cut in half & save your seeds
In May 2018, I planted one pie pumpkin plant, and it produced eight small pumpkins. I was thrilled. I harvested them in September before the early frost, and they ripened beautifully in time for use as Thanksgiving and Halloween decorations.
With Halloween over, it was time to take the plunge. The first surprise was that cutting them open was very easy. I didn’t even have to warm them up in the microwave.
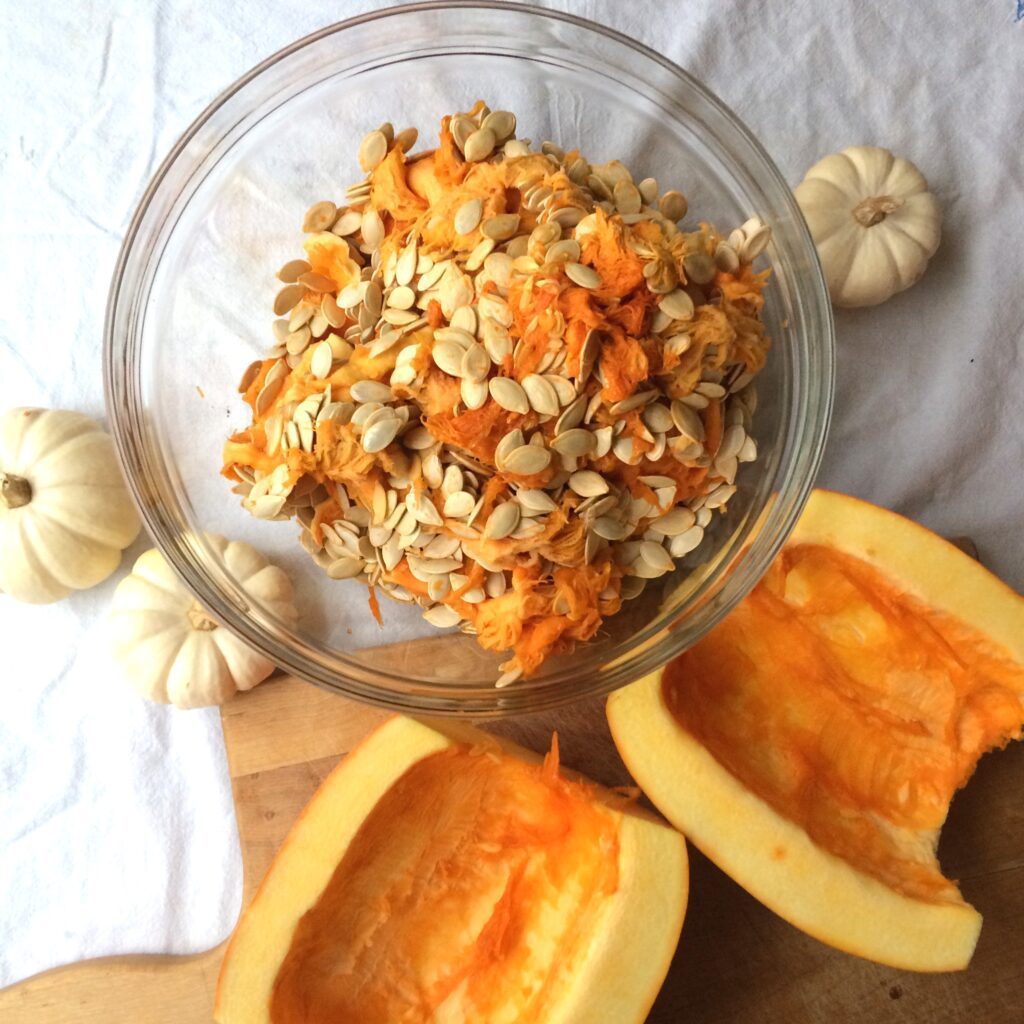
I removed the seeds with a tablespoon and saved them for another project.
NOTE: To easily open a pumpkin, you must use a variety meant for baking. Pumpkins meant for jack-o-lanterns will have much thicker skin and be harder to cut open.
Related: 3 Ways to Make Delicious Pumpkin Seed Snacks
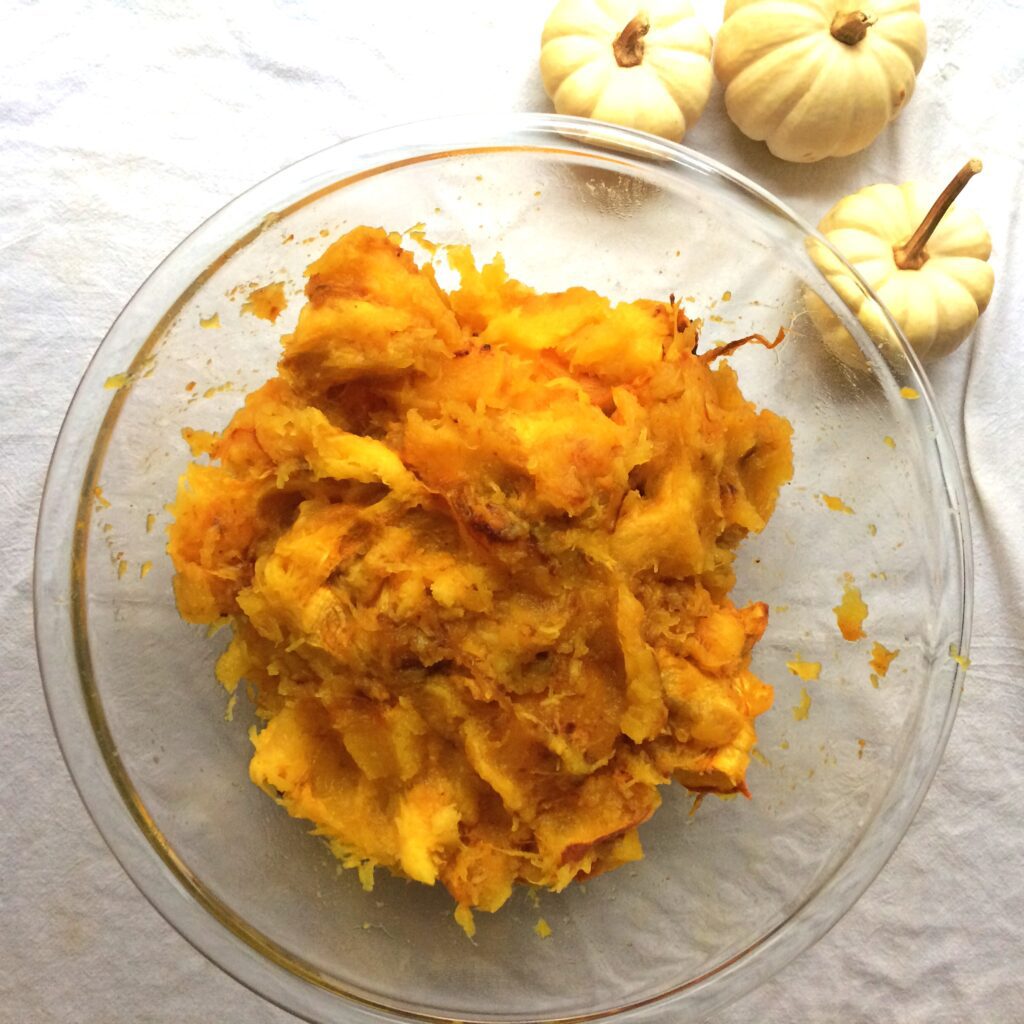
2. Bake
I lined up the pumpkin halves on my baking sheet and cooked them at 375 for around an hour. Your time will vary depending on the size of your pumpkins. When I could easily stick a fork in them, and the thinner ones were starting to break apart slightly, I declared them done and took them out to cool completely.
Related: Pumpkin Spice Cupcakes with Cinnamon Cream Cheese Icing
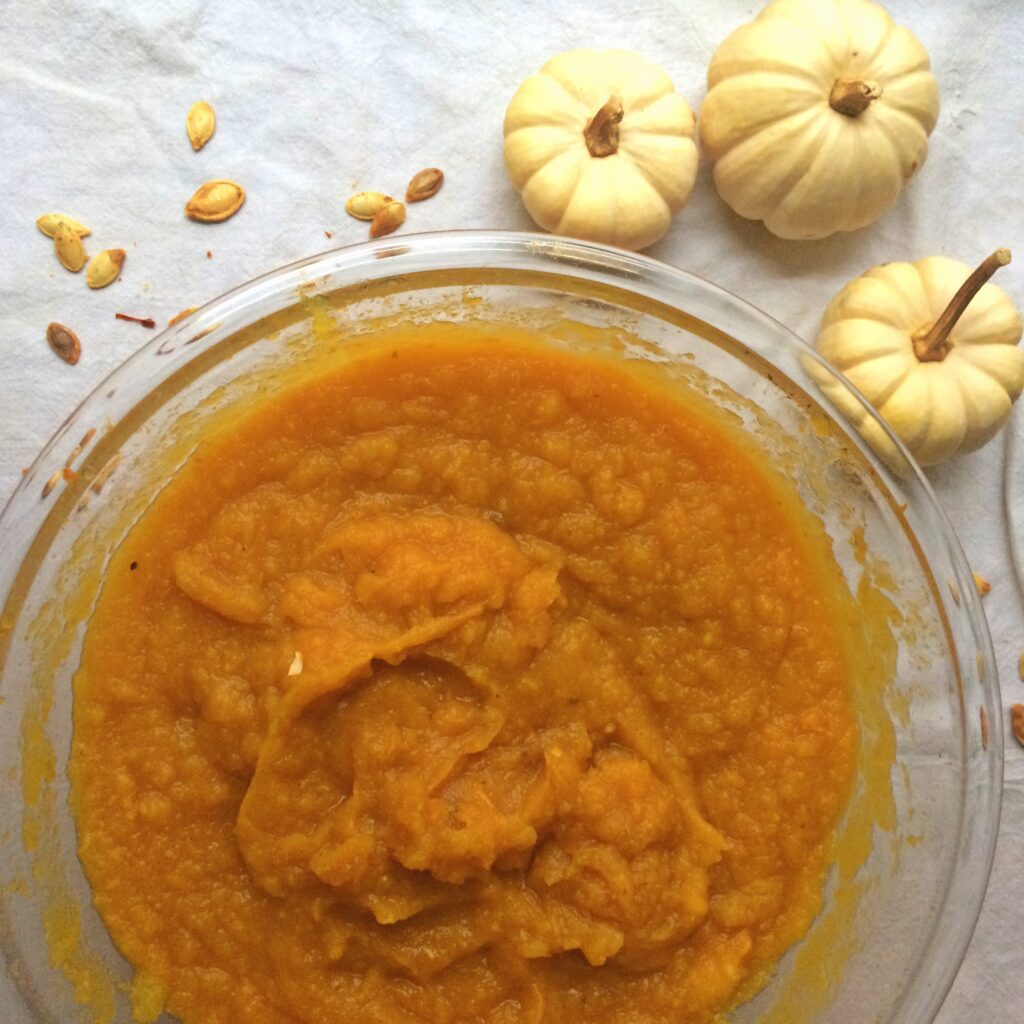
3. Add water and blend
I don’t have a food processor or a particularly large blender, so I roughly broke up the pieces by hand, added 1/2 cup of water, and used my immersion blender. If you are using a larger blender, you don’t have to add the water, but I was concerned about overwhelming my motor.
Not sure what to do with the vegetables you’ve grown this year? Download the free cheat sheet below to help you out:
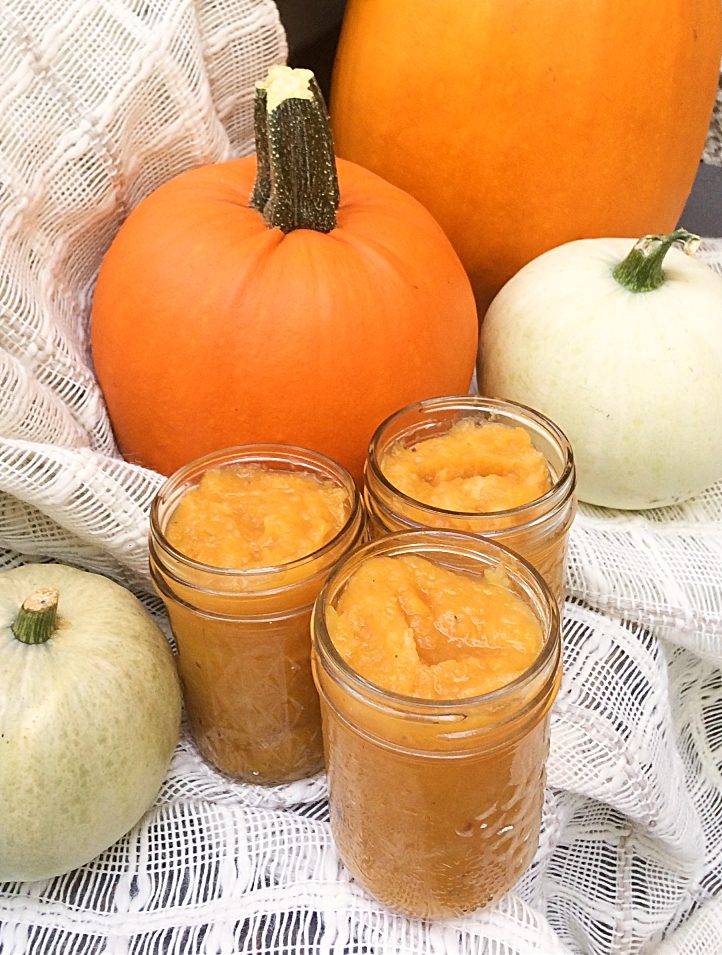
Pumpkin Puree with Little Effort
I processed four batches and got 13 bags of pumpkin with 1 1/2 to 2 cups each. (Sorry friends, I’m not a huge fan of measuring, but I admire those of you who are!) If 1 bag = 1 can of store puree (at $6/can), the savings are $78! Not bad for something that takes about an hour of actual work (not counting the time in the oven).
My son is a super picky eater because of his sensory preferences, and pumpkin is one of the few vegetables I can generally hide in something he eats, like pancakes or bread. If you only use pumpkin in one or two recipes a year, buy a can. But if you use it more often like I do and enjoy doing this kind of stuff, then growing and processing the pumpkins is worth the savings!
Here are some delicious recipes for you to try:
- Pumpkin Yeast Doughnuts with Chai Glaze
- Pumpkin Spice Cupcakes with Cinnamon Cream Cheese Icing
- Pumpkin Seed Brittle: A New Twist on an Old Classic
- Pumpkin Spice Chocolate Chip Muffins
- Drool-Worthy Pumpkin Spice Cinnamon Buns
- Mixer-Friendly Pumpkin Bread Recipe
- How to Make Easy & Delicious Pumpkin Seeds for Your Next Snack
- Quick and Easy Pumpkin Spice Pancakes with Walnuts
- Pumpkin Cheddar Biscuits
Have you processed your own pumpkins? If you have any tips or tricks, please share!
If you enjoyed this blog post, find me on Facebook, TikTok, and Instagram for delicious recipes, small space gardening and flower farming tips, and more! I also make weekly videos over on my YouTube channel where I share lots of tips and tricks for cold-climate gardeners. I hope to see you there!
P.S. If you love the content I create for Shifting Roots, consider joining our community on Patreon. Your support means the world to me, and I am grateful for each and every one of you!
WANT SOME SIMPLE prairie FRUIT RECIPES?
If you’re looking to make delicious recipes with your homegrown hardy fruits, look no further. Check out my e-book, Hardy Fruits Cookbook, for over 25 mouth-watering dishes!


Cheryl
Kristen Raney
Melanie
Kristen Raney
Janice
Kristen Raney
Nikky
Mary
Sharon
Kristen Raney
Paulette Calloway
Kristen Raney
Shelly
Kristen Raney
Lara
Kristen Raney
Kelli Mahan
Kristen Raney
Sharon Casados Nott
Theresa